

This week I had a request to show participants how to crop an image using Microsoft Paint. Most of the Microsoft Office products include a cropping tool but it only crops the image within that specific program. Microsoft Paint can provide a simple but effective cropping feature and is an easy option if you do not have access to graphic design programs such as Adobe Photoshop.
Microsoft Paint is included as part of the Windows operating system and comes pre-installed on your computer.
When working with images it is a good idea to have an understanding of image dimensions. These are usually measured in pixels and shown on the status bar of Microsoft Paint. The dimensions identify the horizontal size by (represented by an x) the vertical size (e.g. 1024 x 768).
Step by step instructions for using Microsoft Paint in Windows 10 are directly below, or use the link here to go to the instructions for using Microsoft Paint for Windows 11.
Crop an image using Paint for Windows 10
- To open Microsoft Paint, click the Start button and scroll to the W section within the programs list.
- Microsoft Paint can be found inside the Windows Accessories folder group OR click Start and type Paint to search for the program. Click the program to launch.
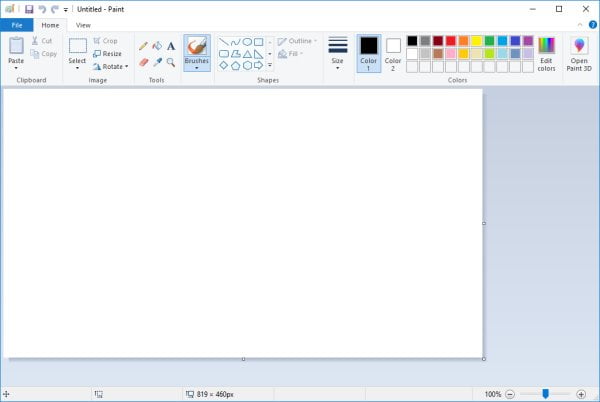
- The Microsoft Paint window will be displayed
- Select File > Open or press Ctrl + O
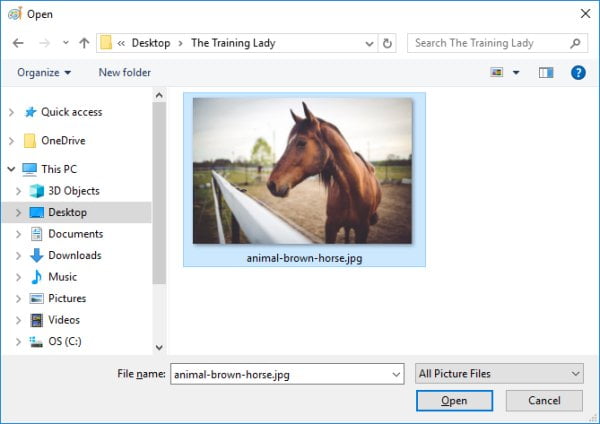
- Locate and select the image file you wish to crop and click Open
- If the dimensions of your image are on the larger size, then you may now see your image zoomed in, to zoom out, select the View tab and use the Zoom out button
- Make note of the current dimensions of your image file. Use the status bar at the bottom of the window to identify the dimensions. It will also show you the amount of disk space your image takes up on your computer.
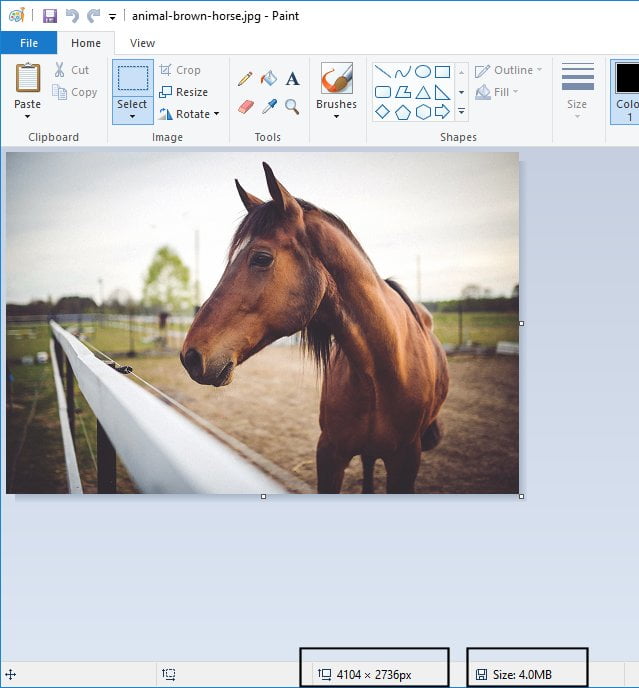
- The sample image I am using is reasonably large in terms of the dimensions: 4104 x 2736 px
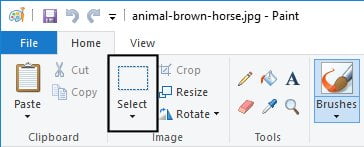
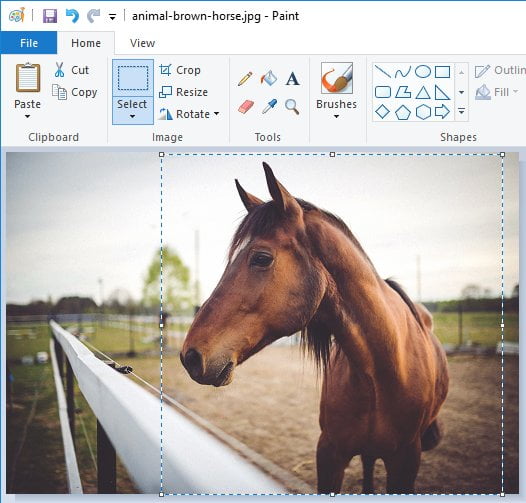
- From the Home tab select the Selection tool
- Using the mouse, draw a frame around the area of the image you wish to keep. Anything outside the selection frame will the cropped out
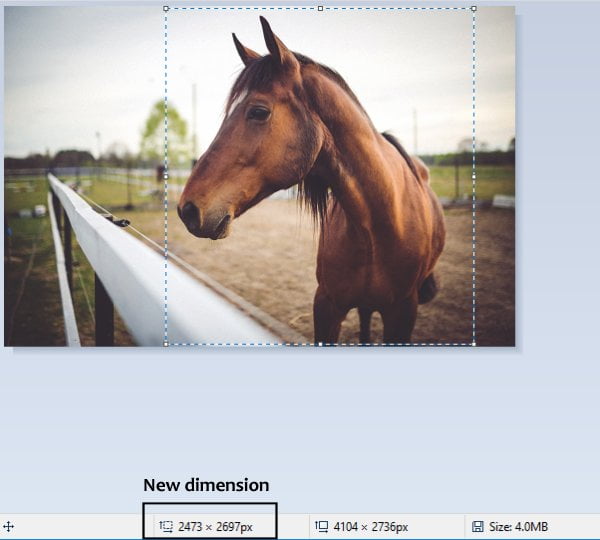
- Check the status bar to identify the new dimensions for your cropped image. My image will go from 4101 x 2736px to 2473 x 2697px. Make note of your cropped image dimensions as you may need this information later in the process
- From the Home tab click Copy or use Ctrl + C on the keyboard
Create the new cropped image
- Now select File > New to create a new blank file
- The new file dimensions are 819 x 460 px
- From the Home tab click Paste
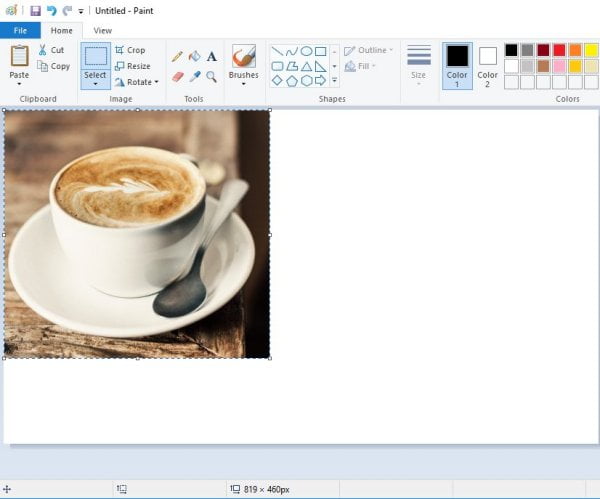
- The cropped portion of your image will now be pasted into a new file. Because the dimensions of my cropped image are larger than 819 x 460px, Microsoft Paint has increased the image size to fit my cropped image. The cropped image is zoomed in again, repeat the process to zoom out
- If your cropped image is smaller than 819 x 460px then you may find you have white space around your image as shown in the sample below:
- If this occurs you need to resize the new image dimensions BEFORE you paste the cropped image in
- Use the Undo button from the Quick Access Toolbar to undo the paste function
- From the Home tab click Resize
- The Resize and Skew dialog box will appear:
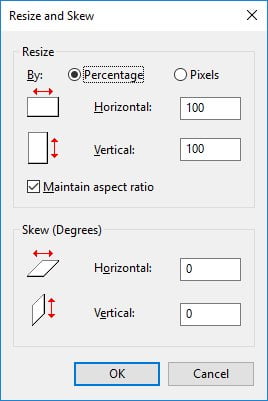
- Change the Resize By option to Pixels
- Now enter the Horizontal and Vertical dimensions of your cropped image which we discussed in point 10
- Click OK
- Now Paste your cropped image again and it should fit perfectly into the image area with no white space showing around the edges
- To save your new cropped image, select File > Save or press Ctrl + S on the keyboard
- The Save As dialog box will appear:
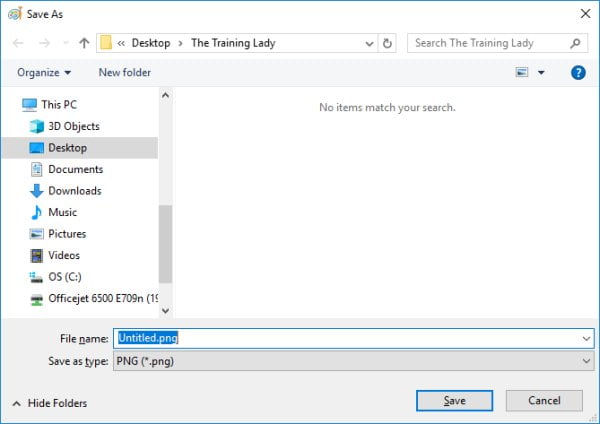
- Navigate and select a suitable location to save your new image
- Enter a relevant File name and choose the image type you wish to save as: .png, .jpg are popular options
- The new image is now saved and ready for use within any program or social media platforms
Crop an image using Paint for Windows 11
- To open Microsoft Paint, click the Start button, then click All Apps.
- Scroll to the P section within the programs list and click Paint.
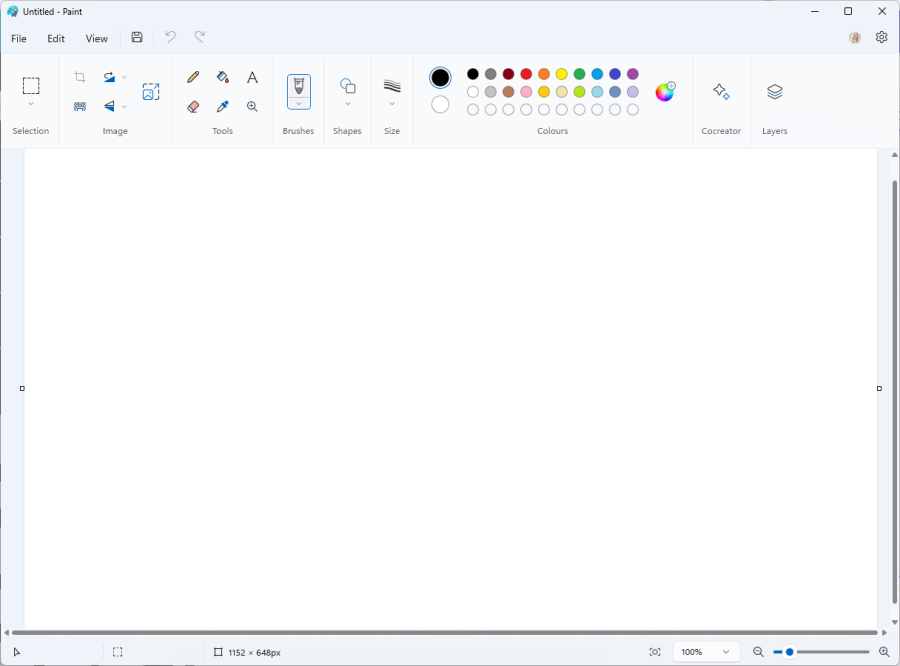
- The Microsoft Paint window will be displayed:
- Select File > Open or press Ctrl + O
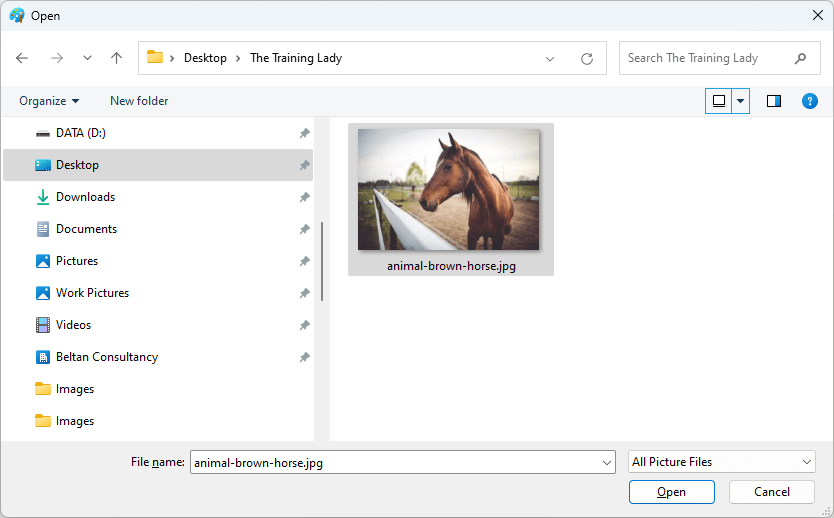
- Locate and select the image file you wish to crop and click Open:
- If the dimensions of your image are on the larger size, then you may now see your image zoomed in, to zoom out, select the View tab, hover over Zoom and then click the Zoom out button. You can also use Ctrl + PgDn (Page Down) on the keyboard.
- Make note of the current dimensions of your image file. You will find this information in the status bar at the bottom of the window. It will also show you the amount of disk space your image takes up on your computer.
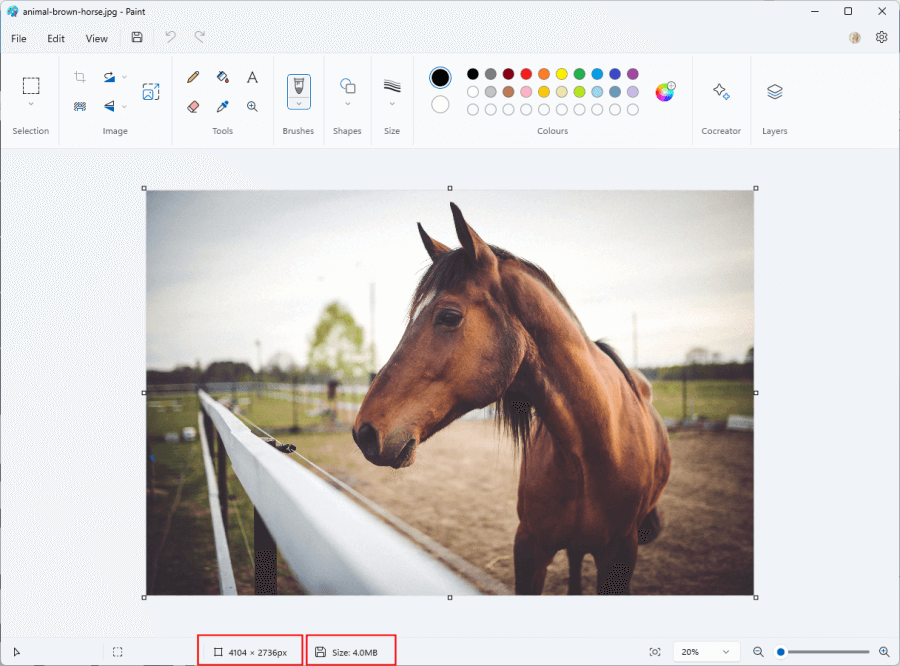
- The sample image I am using is reasonably large in terms of the dimensions: 4104 x 2736 px.
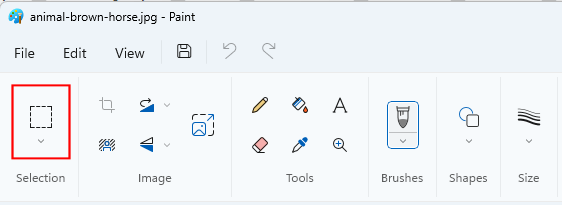
- From the Home tab click the Selection tool:
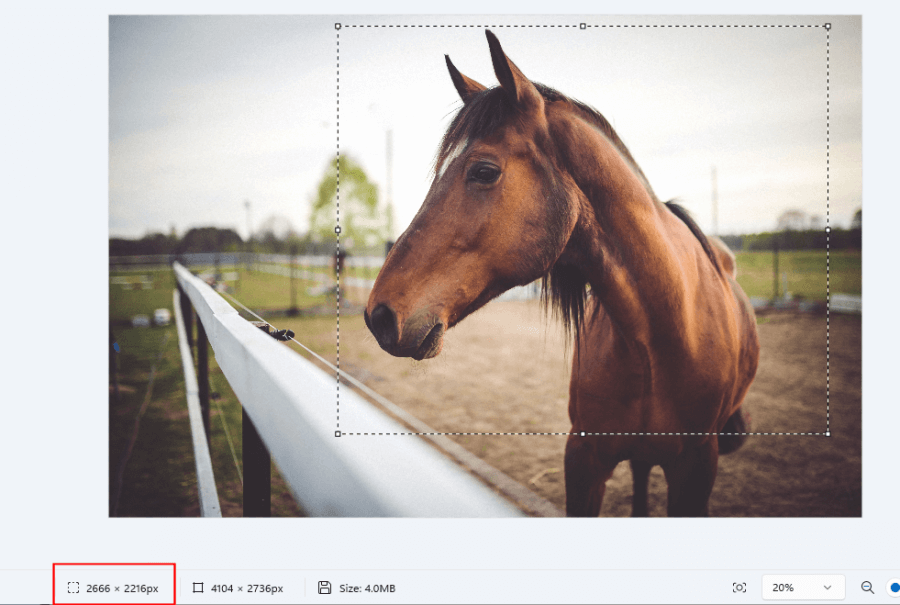
- Using the mouse, draw a frame around the area of the image you wish to keep. Anything outside the selection frame will the cropped out:

- Check the status bar to identify the new dimensions for your cropped image. My image will go from 4101 x 2736px to 2666 x 2216px. Make note of your cropped image dimensions as you may need this information later in the process:
- Click the Edit menu and click Copy or use Ctrl + C on the keyboard.
Create the new cropped image
- Now select File > New to create a new blank file. You will be asked Do you want to save your work, click Don’t Save.
- The new blank image file has a dimension of 1152 x 648px. This is smaller than the cropped image size from our previous step.
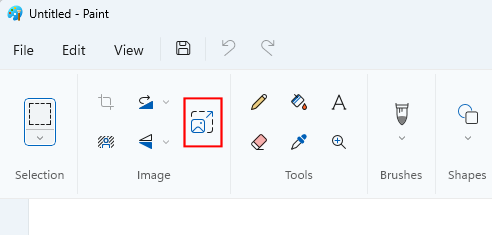
- From the Ribbon, click Resize and Skew button.
- The Resize and Skew dialog box will appear:
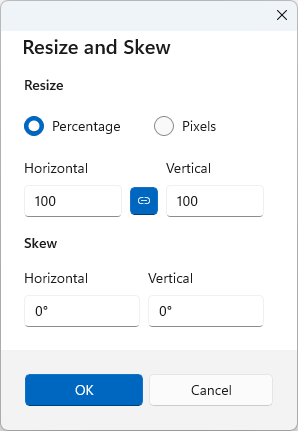
- Change the Resize option to Pixels.
- Now enter the Horizontal and Vertical dimensions of your cropped image which we discussed in the previous section and you hopefully noted down.
- Click the Link button in between the Horizontal & Vertical measurements to allow you to change these independantly of each other.
- Click OK.
- Now click Edit from the menu and choose Paste.
- Your cropped image should fit perfectly into the image area with no white space showing around the edges
- To save your new cropped image, select File > Save or press Ctrl + S on the keyboard.
- The Save As dialog box will appear:
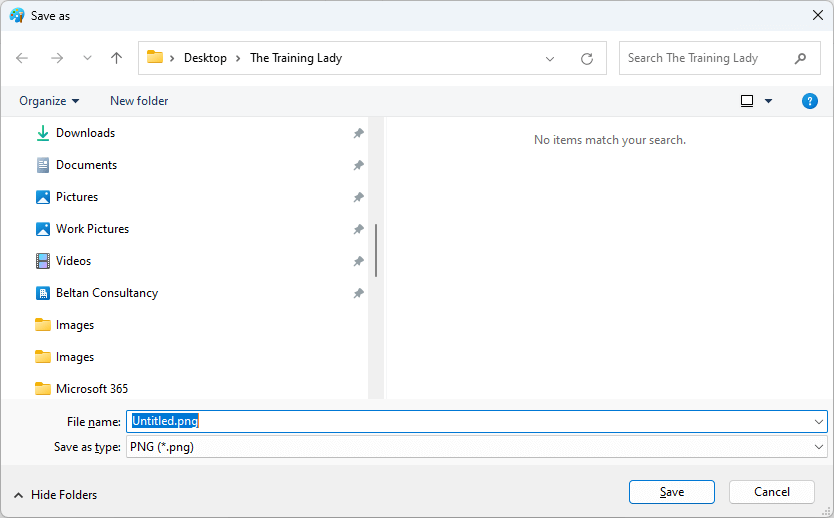
- Navigate and select a suitable location to save your new image.
- Enter a relevant File name and choose the image type you wish to save as: .png, .jpg are popular options.
- The new image is now saved and ready for use within any program or social media platforms.
I hope you have found this post useful to allow you to easily crop images without the need for fancy image editing software. If you enjoyed this post relating to Microsoft Paint, you may also enjoy: How to resize a photo to use as your Desktop Wallpaper (using Paint).


