

One feature that MOST users are familiar with is the Cut, Copy and Paste function. The ability to cut, copy and paste within any of the Microsoft applications or third-party apps provides a user with a high level of productivity. You can move content between different programs, different files and windows with ease.
An unknown bonus of this function is related to the use of the Office Clipboard. Most users know that the clipboard is the location where anything you cut or copy is stored until such time as you paste it elsewhere. What many people are unaware of is that the Office clipboard can be used to store content. In fact, it can hold up to 24 different items at any given time and then enable you to paste these randomly into your files in any order and at any time.
What!?! Yep, that’s right! You are not limited to only pasting the last item that you cut or copied. You can paste any combination of the last 24 items now, in an hour, or at the end of the day.
Now the way you achieve this is by collecting items in the Office Clipboard. The clipboard is usually hidden and does not display itself when we use the cut, copy and paste features. I’m sure, like me, many users utilise the keyboard shortcut combinations to use these functions.
- Ctrl + X = Cut
- Ctrl + C = Copy
- Ctrl + V = Paste
Let me now show you how to utilise the full potential of the Office Clipboard:
- Firstly open one of the Microsoft 365 apps, for ease of this post I’m going to open Microsoft Word.
- Create a new blank document.
- Now open a second file, in any of the other Microsoft 365 apps so that you have some content you can copy.
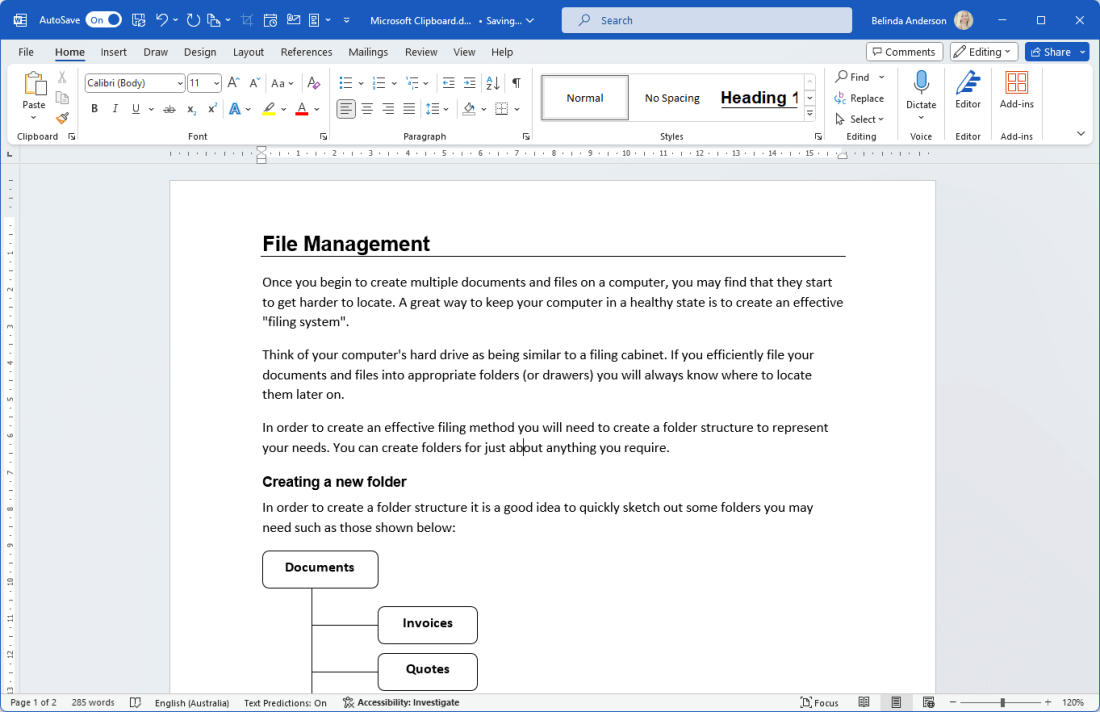
- I am using a sample file I’ve created from some training notes which contains some headings, body text, an object, and an image:
- Now let’s explore some of the features of the Clipboard.
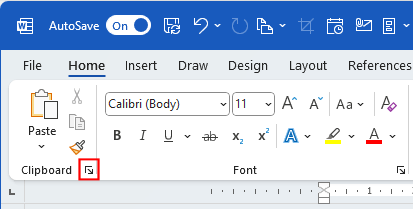
- To display the clipboard, click the Clipboard button found in the bottom right corner of the Clipboard group on the Home tab:
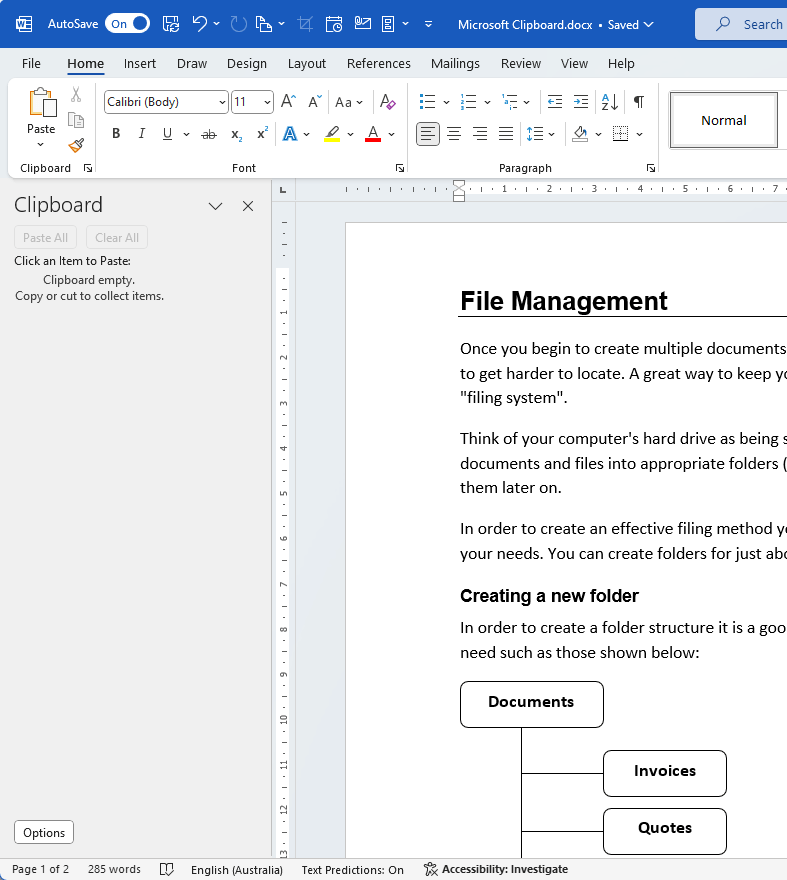
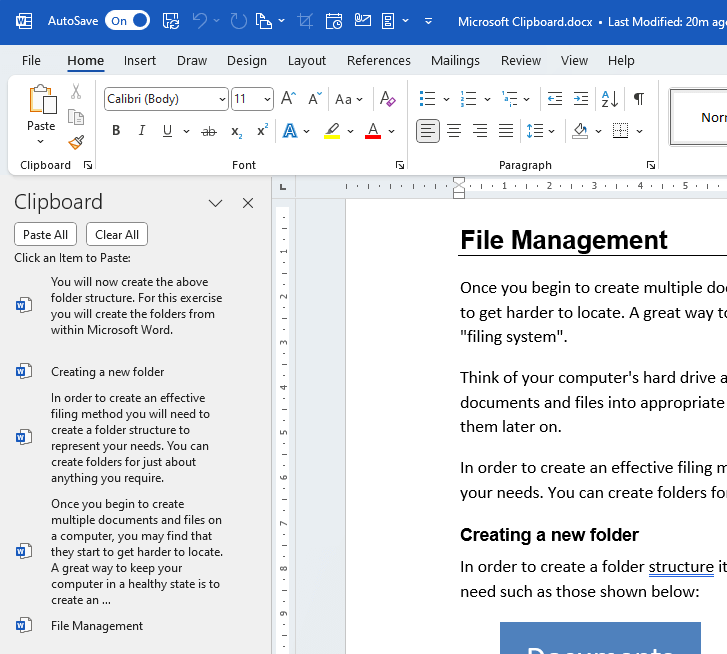
- The Clipboard task pane will now be displayed on the left side of the screen:
- To explore a few of the options available when working with the Clipboard, click the Options button at the bottom of the task pane.
- You will see the following options:
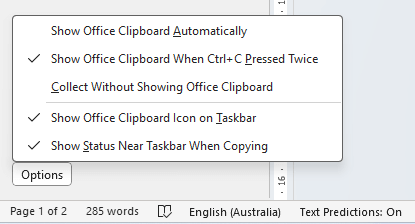
- Each of the options will provide the following functionality:
| Show Office Clipboard Automatically | The clipboard will automatically appear whenever you copy or cut content from your document. I initially enabled this setting, however, turned it back off as it means the Clipboard is displayed every time you use the cut, copy, paste feature. |
| Show Office Clipboard When Ctrl + C Pressed Twice | The clipboard will appear if you press Ctrl + C twice in succession. I personally have this setting enabled. It is OFF by default. |
| Collect Without Showing Office Clipboard | Copies content from your document to the clipboard collection automatically. Sounds like a good idea but again I enabled this and turned it back off as it meant a lot of “You have a large amount of content in your Clipboard…” messages whenever I closed an application. |
| Show Office Clipboard Icon on Taskbar | Will display the Clipboard icon on the taskbar which gives you easy access to view or clear the clipboard along with advising how many items have been added to the collection. |
| Show Status Near Taskbar When Copying | This option will allow you to see a small popup window appear in the bottom right corner of your screen which shows you the status of the Office Clipboard. |
- Now to copy and/or cut some elements from the document.
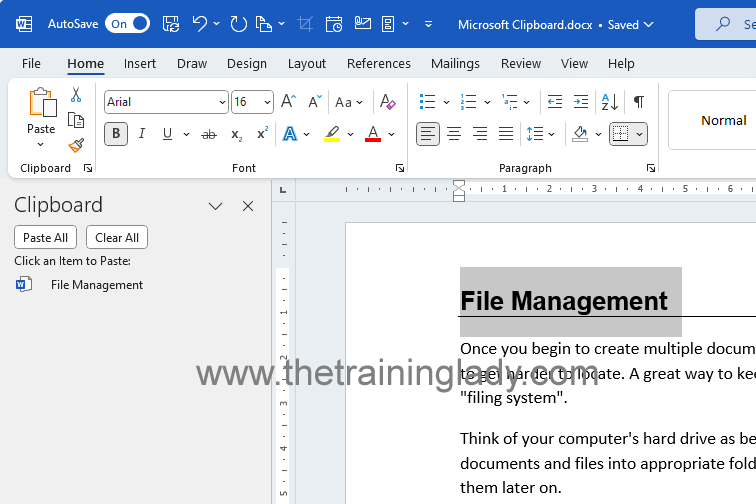
- Select a heading or text and press Ctrl + C on the keyboard (this will copy the content).
- The content will now appear in the Clipboard:
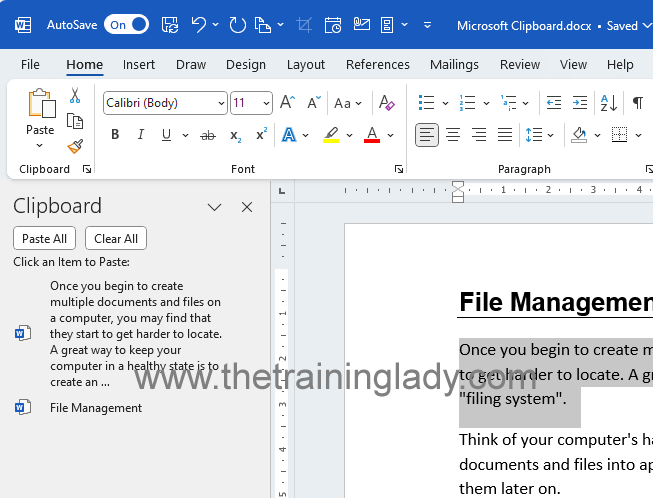
- Now select an entire paragraph and press Ctrl + C to copy.
- You will now have 2 items displayed in the clipboard collection:
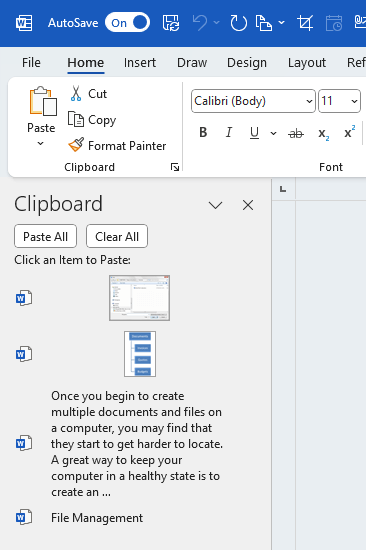
- Repeat this process till you have 4 or 5 different items displayed in the clipboard:
- Now either move to another spot within the file or open the additional app you have open.
Paste content from the Clipboard
Now that you have “collected” some content in the clipboard, it’s time to use some of the content by pasting individual objects into another position within the same document, or into a separate file.
- Place your cursor in the position you wish to paste the content.
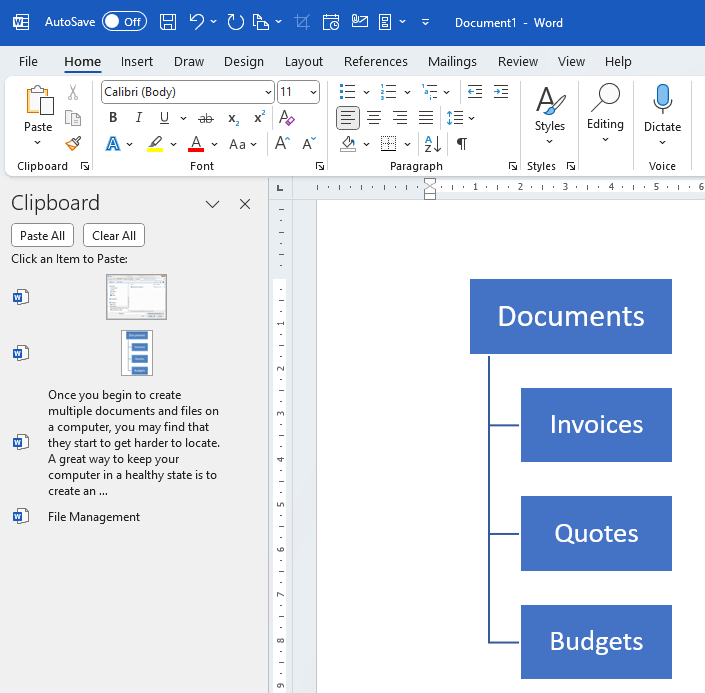
- Click once on any object from the Clipboard pane.
- For this example, I will paste the SmartArt diagram:
- Continue to paste items in a random order.
- You will notice when you position your mouse over each object, that a drop-down icon appears, click the button to view the menu options:
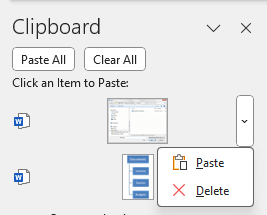
- The drop-down menu provides options to either Paste or Delete.
- If you wish to remove an item from the Clipboard, you can individually delete each object using the drop-down menu or you can use the Clear All button located at the top of the Clipboard task pane:
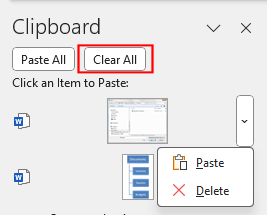
- If you wish to paste all elements at once, use the Paste All button located at the top of the Clipboard task pane.
Keeping content in the Clipboard
A regular question I see relating to the clipboard is the issue of people losing the content they had copied to the clipboard. I have seen many users who have cut large amounts of data from one document or file and plan to paste the content into another file only to find that when they try to perform the Paste function, nothing is available.
When you copy or cut content into the Clipboard, that content is being stored temporarily. The clipboard will prompt you on what you want to do with any stored content if you do not clear the content yourself. If you are only copying or cutting small amounts of data, then that data will remain in the Clipboard for you to use elsewhere. If however you have cut or copied a large amount of data, which is taking up significant storage space, then the Clipboard will ask you what you want to do with it.
Over the years I’ve seen many users become very neutral to seeing any type of message appear on the screen and our instant reaction is to click No. Generally, I think people assume that answering No to a question on the computer, even if they haven’t read the message, will never result in a negative result. When working with content which is stored in the Clipboard that is not the case.
To demonstrate this, follow these steps:
- Open a document containing text and images.
- Copy a hand full of paragraphs or headings to the clipboard:
- Close the file as normal and save the changes. Ensure you have closed all instances of Microsoft Word.
- Now open the same file again.
- Ensure the Clipboard is displayed, the original items should still be available.
- Now select the entire document using the Ctrl + A shortcut.
- Select Ctrl + C to copy to the Clipboard collection. This now means you have a large amount of content being stored in the Clipboard.
- Close the document and exit Microsoft Word (remember to save if you prefer).
- You will now see an additional prompt appear:
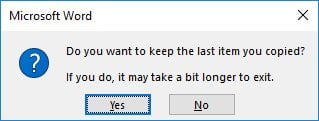
This prompt is letting you know that there is a larger amount of content in the Clipboard. Do you want this available to use in other applications after you quit Word? If you plan to paste the content that you have stored in the clipboard, into another file or program, you MUST click Yes. If you click No, anything being stored in the Clipboard will be deleted. Clicking Cancel will simply keep Microsoft Word open allowing you to continue to interact with the Clipboard.
I hope this post on the Clipboard helps save you some time in your day. If you would like to use Microsoft Word more efficiently, why not check out My Favourite Shortcut Keys for Microsoft Word.


One Response
Hi Belinda,
I can’t wait to get back to work tomorrow… I’ve got so many new tricks to try.
I’m 48, so did all my word processing learning when DOS was still a thing. I have been a retail manager for many years, and have recently been moved into our HR team. I’ve had enough skills to be useful, but knew there must be lots more features in Word that I could be exploiting.
Thank you so much for your clear explanations that don’t make me feel like an idiot.
Juliet