

In an earlier post titled Backing up your files – a vital step to securing your data, I outlined the basic information needed for any user to begin the process of backing up data on a regular basis. In this post, I will step you through how to back up data using File History options available in Microsoft Windows 10.
Back up using File History
To back up your files using File History in Windows 10, follow these steps:
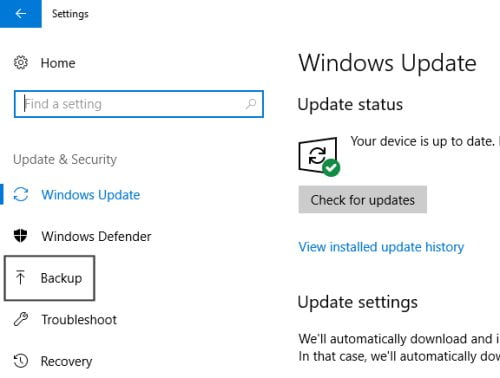
- Click on the Start button and then select the Settings button

- Select the Update & Security icon
- From the side menu bar select Backup
- Under the Back up using File History heading, select Add a drive (Make sure your external drive is plugged into your computer)
- Windows will search for your external drive and you should see the drive in a list, select it
- You will now see an On/Off button beneath Automatically back up my files
- If the button is blue then this feature is enabled, to disable, click the button once

- Now click the More Options link
- On the left side of the screen, you will see a summary of the backup information
- From the Back up my files drop-down, select the time interval you would like to backup. By default, you will see options ranging from every 10 minutes to daily

- You can now specify how long you would like each back up kept for, use the drop-down to select your preference
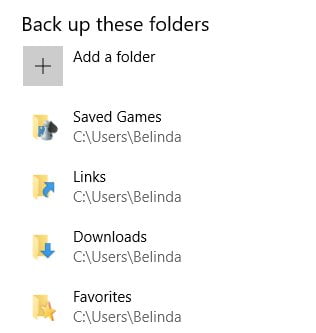
- Under the Back up these folders heading, ensure that Windows has included the important folders you require. To remove a folder, click it once and select the Remove button. If a folder is missing from the list, click Add a folder and select the folder you wish to add
- Click the Back arrow in the top left corner of the window to return to the Backup window
- Your files will now begin to be backed up as selected
- Allow your computer to complete the backup process, do not disconnect the hard drive from your computer
- When the backup has completed, you will see a window advising that the backup has completed successfully
- Click Close
Be sure to check back with my post: Backing up your files – a vital step to securing your data to identify other methods you can use to back up your data.


