Sway is fantastic for creating visual presentations and a common question I am asked is “How can I have cards sit side-by-side in my Sway?”. Maybe you want to have an image dispalyed with text sitting alongside it?
Let’s look at how you can display cards side-by-side:
- Open Microsoft Sway (I’m using the desktop app)
- From the Sway screen click Create New
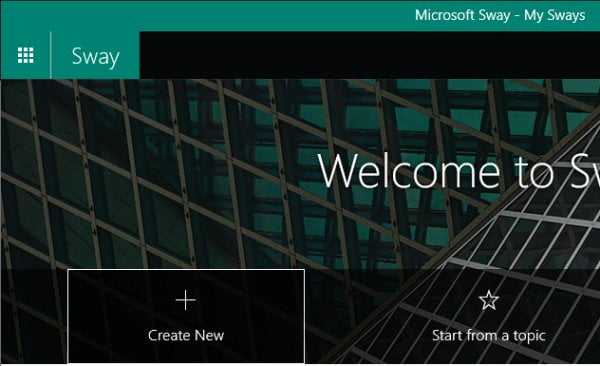
- A new Sway will be displayed with a Title card already displayed
- Go ahead and add a Title to the Sway

- Now we need to insert a Text card
- Click the Insert Content button at the bottom of the Title card
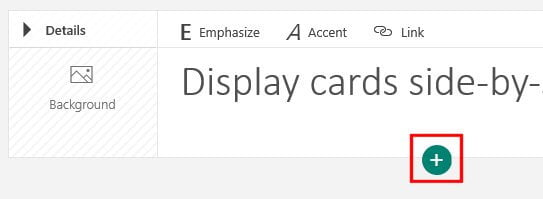
- From the card options, select Text
- A Text card will now be displayed
- Place your cursor inside the Text card and add content you wish to display in the presentation

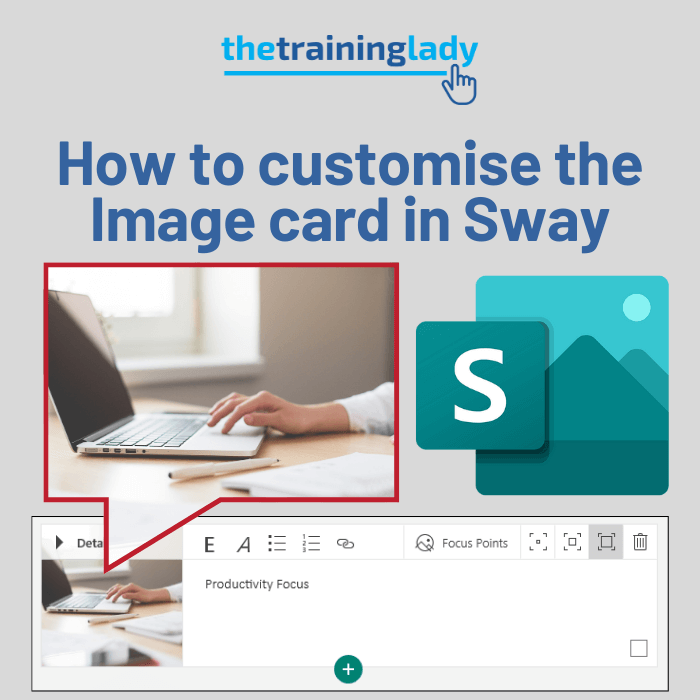
Add an Image card
- Now we need to add an Image card
- Hover over the Text card and click the Insert Content button (+)
- Select Image from the options
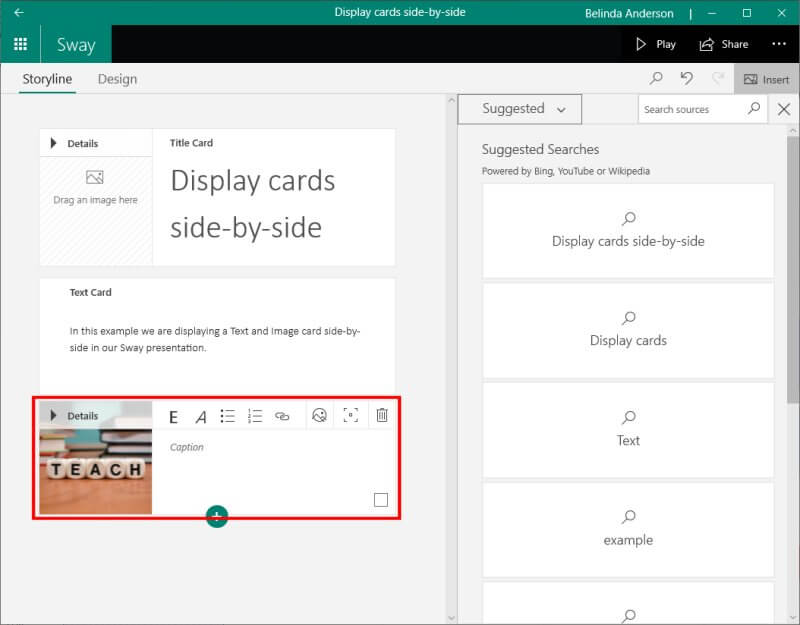
- The Image card will be displayed along with the list of source options on the right side of the screen
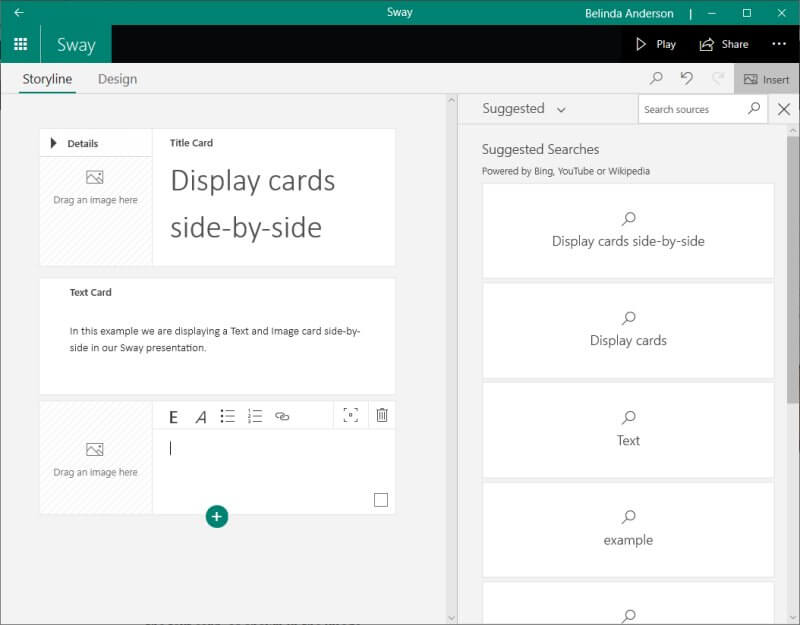
- From the Suggested drop-down menu, choose your selection. E.g. My device
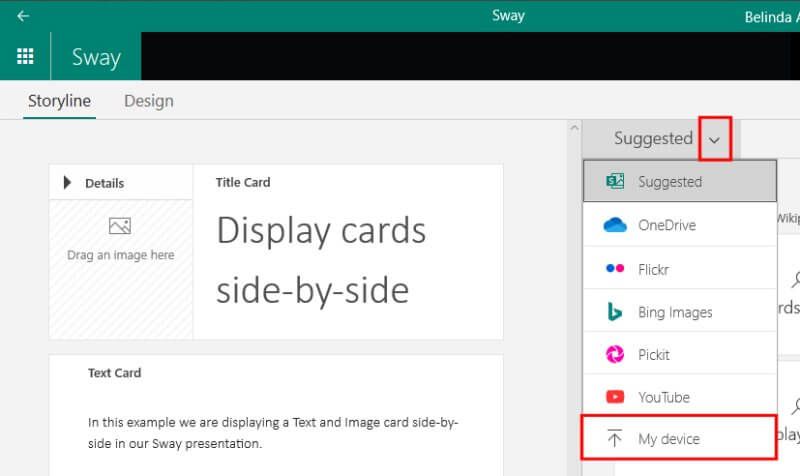
- Locate and select the image you wish to upload
- The image is now displayed within the Image card
Group the cards
Now that we have a Text card and Image card ready, we need to group them together.
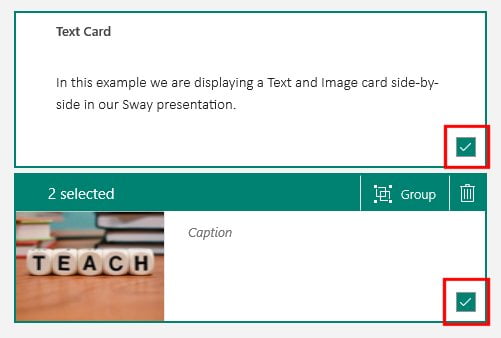
- Click inside the Text card and place a tick in the checkbox to select it
- Repeat the process to select the Image card
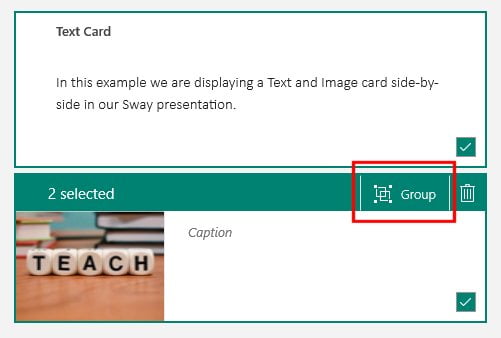
- Click the Group button
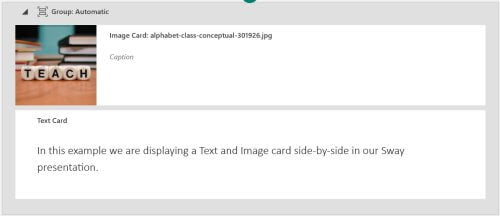
- The two cards will now be grouped together.
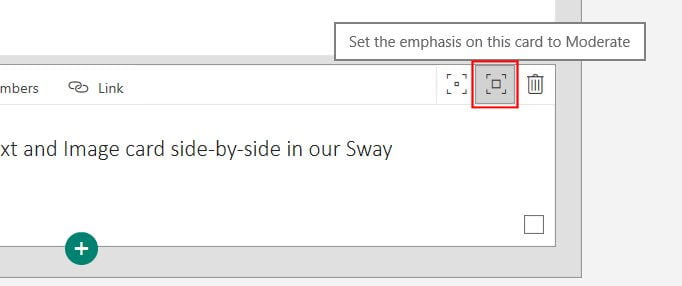
- Select the text card and now set Emphasis to Moderate.
Apply a Sway Design Style
Now that you have grouped the cards, we will apply a design style that will display grouped cards side by side.
- From the Storyline screen, click Design
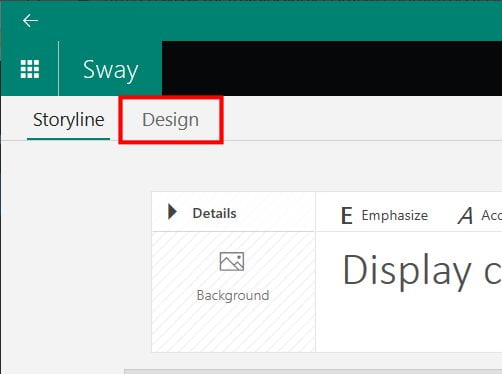
- Click Styles from the right-hand side of the screen.
- A panel will open displaying different design styles you can choose from as shown below.
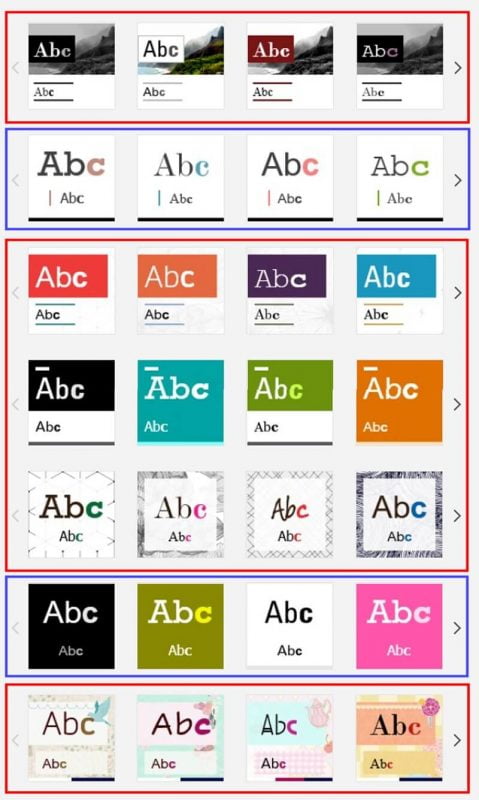
- Styles marked in the red boxes will Left align the image card when the image is first in the group and followed by an emphasised text card.
- Styles marked in the blue boxes will still Left align the image card but when the text card does not use the emphasise option. The text will wrap around the image where there is enough text to do so.
- Depending on the style you choose, you may need to select Vertical scroll to get the cards to display side-by-side.
Play the Sway
Now it’s time to see what your Sway will look like.
- Click Play from the top right of the screen.
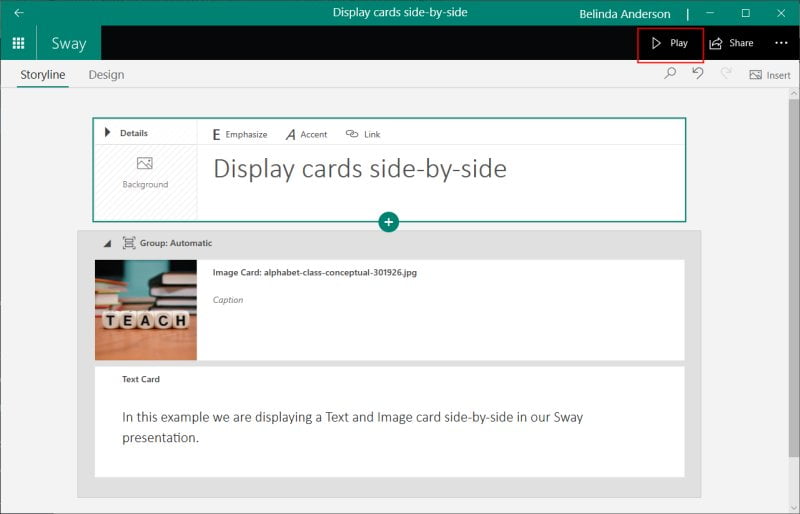
- The Sway will now begin to play
- Experiment with different design styles till you have the look and feel you are after.
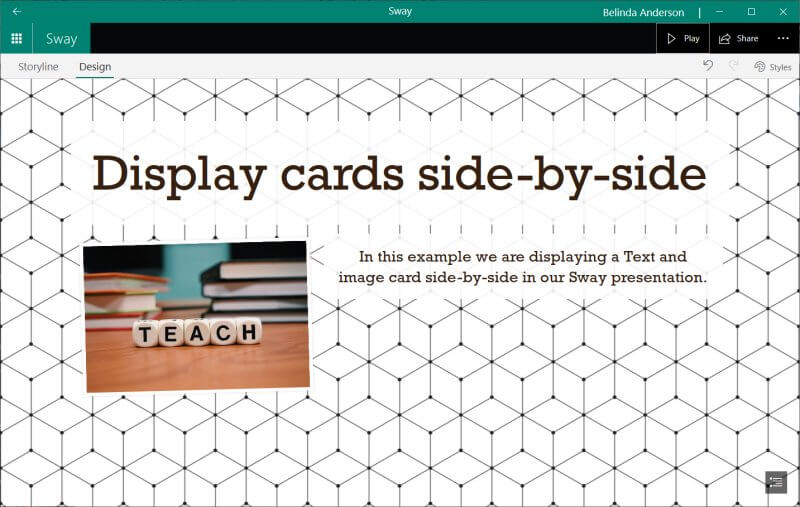
Repeat the process to arrange any further image and text cards side by side in Sway. Be sure to check out my other posts to assist you with using Microsoft Sway. Comment below if you have any questions.





One Response
It is a really good website. I have my exam tomorrow and MS Sway wasn’t written in my book but although it was one of the objectives. This website reduced my stress. Thank you!