When working with long documents you will need to add a header and footer section. The header and footer in Word allows you to add information to the top and bottom of each page within a document. These sections allow you to keep information consistent on all or multiple pages within the document and save you time so you do not have to copy and paste the information into the main body section of each page.
The header and footer in Word has some simple and effective options but also allows you to create a complex setup if needed. You can set up different headers and footers for your odd and even pages, and even use a different header and footer on the first page of your document.
Add a page header
In my example, I want to add a header and footer to a document with the exception of the first page which I want to have no header and footer as it is my title page.
- Open Microsoft Word
- Open the document you wish to add a header to. You can press Ctrl + F12 on the keyboard to display the Open dialog box.
- Locate the document you wish to open and select it then click Open
- The document will be displayed
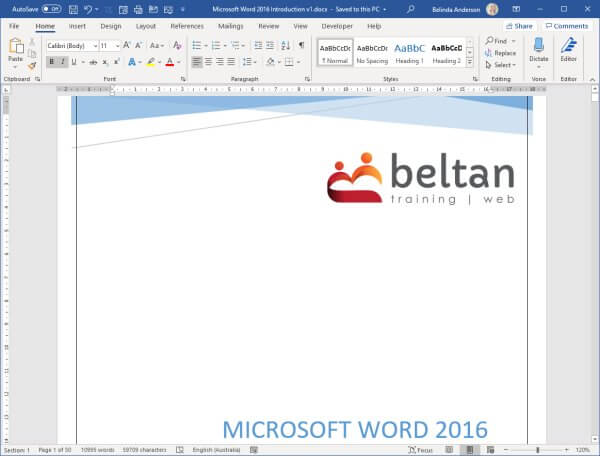
- Click the Insert tab and choose the Header button
- You will see a gallery of pre-styled header options available. If you wish to create a custom header, which we do, select Edit Header
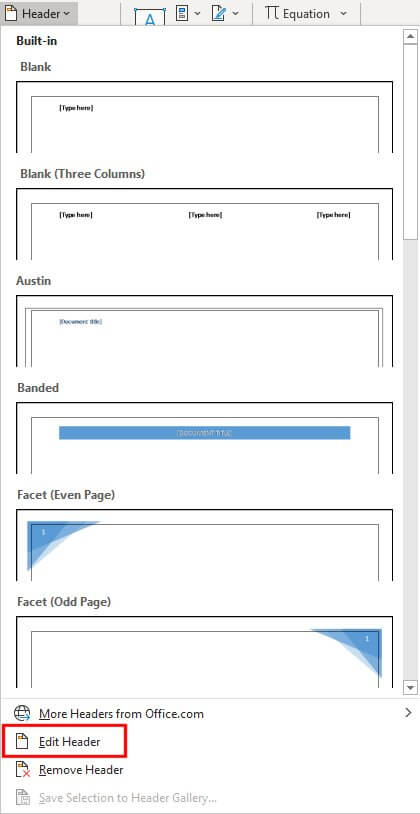
- The Header area will now be displayed within your document. You will also see the Header & Footer contextual tab appear on the ribbon
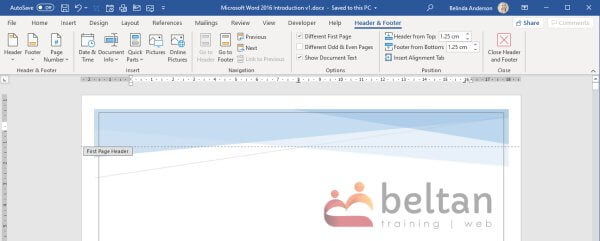
- The Header is divided into three sections using tab stops. You can use the Tab key on the keyboard to move between the left, middle and right-hand side of the Header area
- For this example, I do not want to have the header & footer appear on the first page, so I need to tell Word to use a different first-page header & footer
- From the Header & Footer tab, ensure the Different First Page checkbox is enabled

- To move to page 2, click the Next button

- You will now see the Header on page 2 of your document
- Type in the text you wish to display on the left side of your document header
- Use the Tab key to move to the centre align tab stop and enter information if required
- Use the Tab key again to move to the right align tab stop and let’s enter today’s date
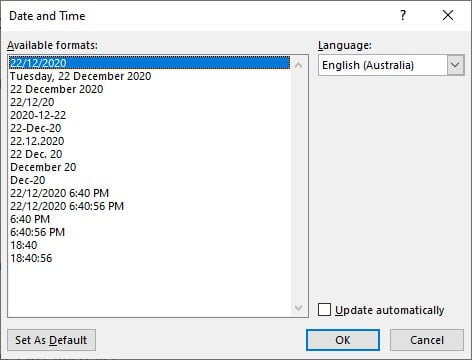
- Click the Date & Time button from the Header & Footer tab
- Select a date format and click OK (if you want the date to automatically update whenever you open the document, ensure the Update automatically checkbox is ticked)
Add a page footer
The footer area of a document provides the perfect location to include information such as copyright details, author information and page numbers.
- Click the Go to Footer button

- You will now see the page footer area
- Type in the text you wish to display on the left side of your document footer, I am going to enter the text “(c) Copyright” followed by the document Author information by clicking the Document Info button and choosing Author

- Use the Tab key to move to the centre align tab stop and enter any information you require
- Use the Tab key again to move to the right align tab stop and let’s enter the page number
- Click the Page Number button from the Header & Footer tab
- Choose Current Position so that the page number will be inserted where your cursor is currently located
- I’m going to use the Page X of Y format option
- The page number will now be inserted

- If you are happy with your footer area, click the Close Header & Footer button

- Your document should now have consistent header and footer content across the entire document, with the exception of page 1.
Comment below with any questions or if you require further assistance.


