

As a follow-up to my previous post, how to set your own photo as your Desktop Wallpaper, I’m going to show you how to adjust the size of a photo being used as your desktop wallpaper. By resizing a photo you avoid any distortion which can be encountered from time to time.
I tend to find that either the photo is distorted and people’s faces look squashed or a part of the photo is chopped off to make it fit.
The important part of setting a photo as your desktop wallpaper is ensuring that the width and height of the photo will match the proportions of your computers’ monitor. Computer monitors come is so many different shapes and sizes now that it’s impossible to ensure that your photos are going to match the dimensions without any issues.
I will now show you how to use Microsoft Paint to resize a photo for use as the desktop wallpaper for Windows 10 and also for Windows 7 and 8.
Using Microsoft Windows 10
- Right mouse click on the desktop area and select Display settings
- Locate the Display resolution setting and make a note of this as shown below:
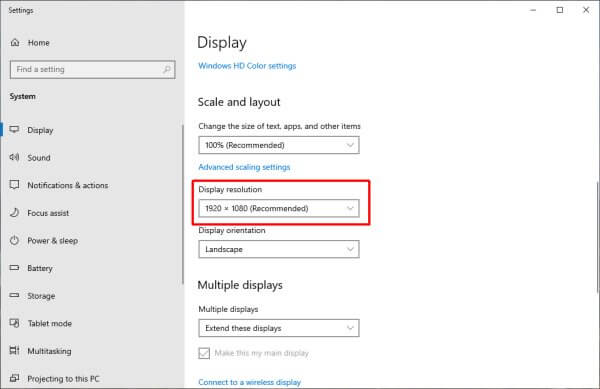
- My screen resolution is set to 1920 (width) x 1080 (height) pixels, so I need to make sure my photos are set to 1920 x 1080 to ensure they are not distorted when displayed on my desktop
- Locate the photo or image on your computer which you wish to use as your desktop wallpaper
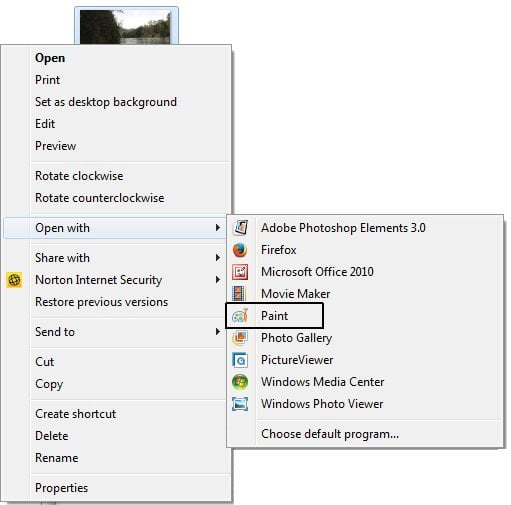
- Right mouse click on the photo and select Open with…
- From the list select Paint
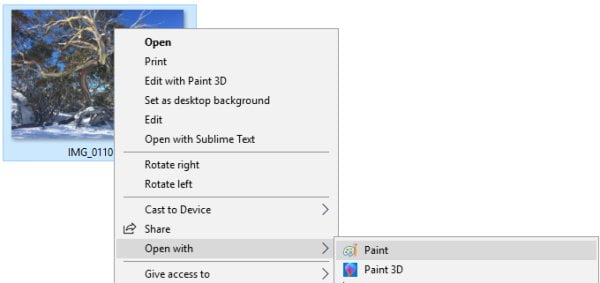
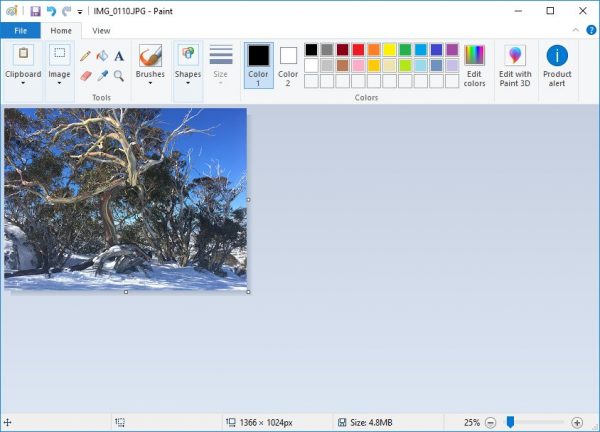
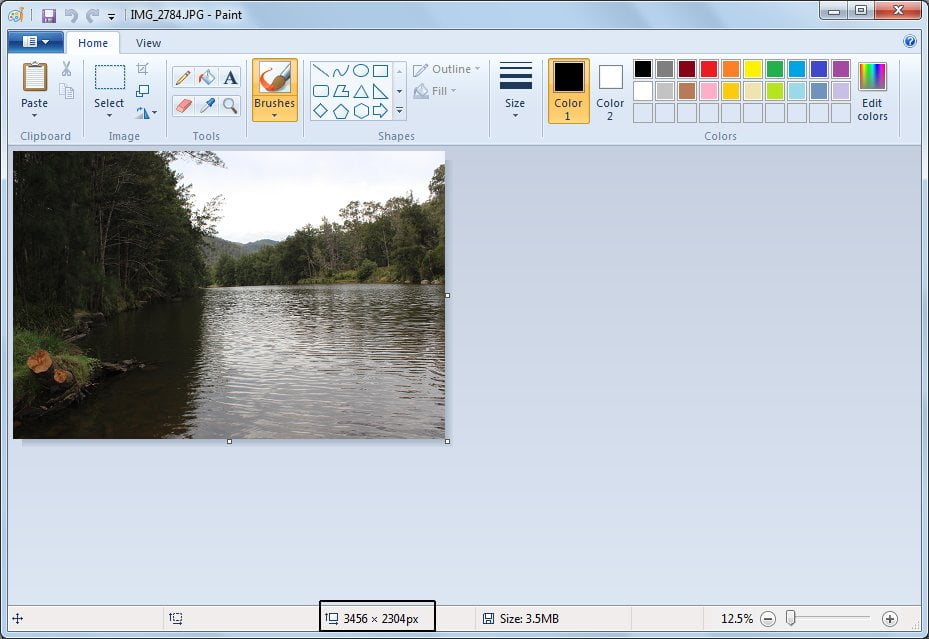
- The photo will now open in Paint
- Use the Zoom tool in the bottom right corner to zoom out of the image so you can see the photo correctly
- You will now need to take note of the width and height of the photo displayed, which can be found on the status bar at the bottom of the Paint window

- We will now select a new area of the photo which will match our screen resolution in width and height
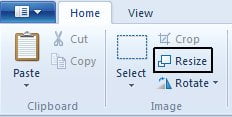
- From the Home tab click the Resize button
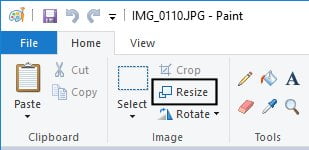
- The Resize and Skew dialog box will appear:
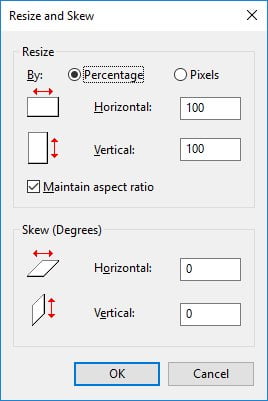
- Change the measurement to be Pixels
- Now you will need to change just one (1) of the measurements. Usually to make the photo fit you will need to trim either the sides or top/bottom of your photo. Generally, I resize my photo to be the exact width I need and then trim some excess from the height however you can do the opposite depending on what you want to be included in your photo
- Enter the Horizontal width of your screen resolution e.g. mine is 1920
- You will see that Paint will automatically change the Vertical measurement to ensure your photo does not distort. So my photo height has been set to 1440 pixels. I need to trim this down to 1080 to ensure it fits without any distortion or cropping
- Click OK
- Adjust the zoom again if needed to so you can see the full image
- Now we need to crop the image, or cut down the image to the correct size. Click the Select button and choose to Select all
- Now click the Crop button which is adjacent to the Select button
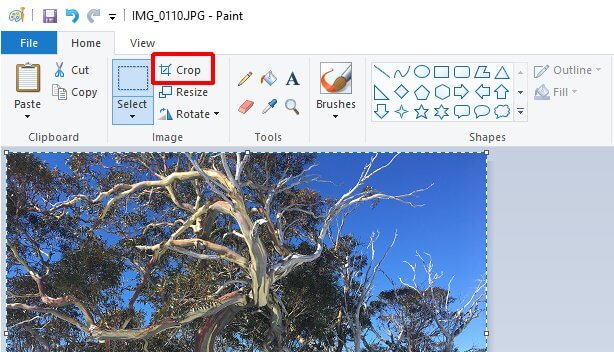
- Your cursor is now a cropping tool. Remember that the WIDTH of the image is already correct as we resized it. So this step is really to remove any of the extra height we have left in the image
- I really only want to take a little section off the top and bottom of the image whilst keeping all the width included
- Use the status bar as a guide and place your cursor in the spot you want to be the top left corner and then hold down the left mouse button and draw a box around the section of the image you want to be included, so that the exact screen resolution of your screen is selected. E.g. mine is 1920 x 1080
- Once you have selected the new image area, click the Crop button again to remove the excess section
- The photo will now be cropped to the size required
- Click the File tab and select Save As
TIP: Do NOT select the normal save option or you will save the changes over the top of your original photo
- Give the photo a new File name, I like to just append the word “wallpaper” to the file name

- Click Save
- To set the new photo as your desktop wallpaper, click the File tab and then choose Set as desktop background
- Your photo will now be displayed perfectly on your desktop background
Using Microsoft Windows 7 and 8
- Right mouse click on the desktop area and select Screen Resolution
- Make note of the Resolution setting
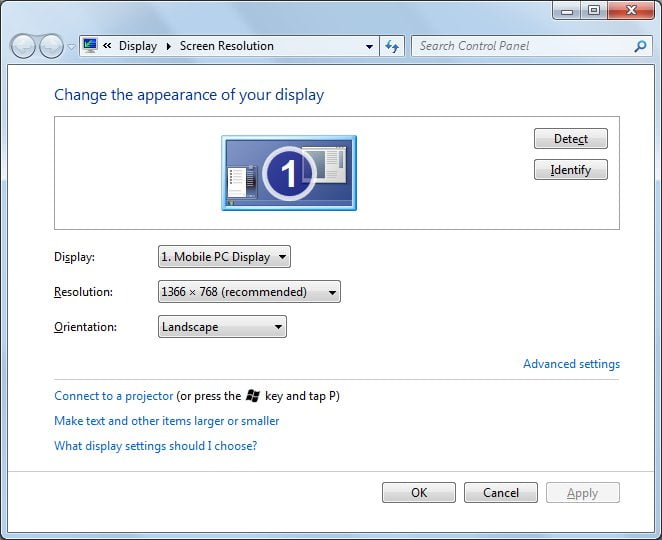
- My screen resolution is set to 1366 (width) x 768 (height) pixels, so I need to make sure my photos are set to 1366 x 768 to ensure they are not distorted when displayed on my desktop
- Locate the photo or image on your computer which you wish to use as your Desktop wallpaper
- Right mouse click on the photo and select Open with…
- From the list select Paint
- The photo will now open in Paint
- Use the Zoom tool in the bottom right corner to zoom out of the image so you can see the photo correctly
- You will now need to take note of the width and height of the photo displayed, which can be found on the status bar at the bottom of the Paint window
- We will now select a new area of the photo which will match our screen resolution in width and height
- From the Home tab click the Resize button
- The Resize and Skew dialog box will appear

- Change the measurement to be Pixels
- Now you will need to change just one (1) of the measurements. Usually to make the photo fit you will need to trim either the sides or top/bottom of your photo. Generally, I resize my photo to be the exact width I need and then trim some excess from the height however you can do the opposite depending on what you want to be included in your photo
- Enter the Horizontal width of your screen resolution e.g. mine is 1366
- You will see that Paint will automatically change the Vertical measurement to ensure your photo does not distort. So my photo height has been set to 910 pixels. I need to trim this down to 768 to ensure it fits without any distortion or cropping
- Click OK
- Now adjust the zoom setting again so that you are at 100% zoom
- Click the Select button and choose to Select all
- Use the status bar as a guide and adjust the resize handles (the little white squares displayed on the corners and mid sections of the border of the photo) so that the exact screen resolution of your screen is selected. E.g. mine is 1366 x 768
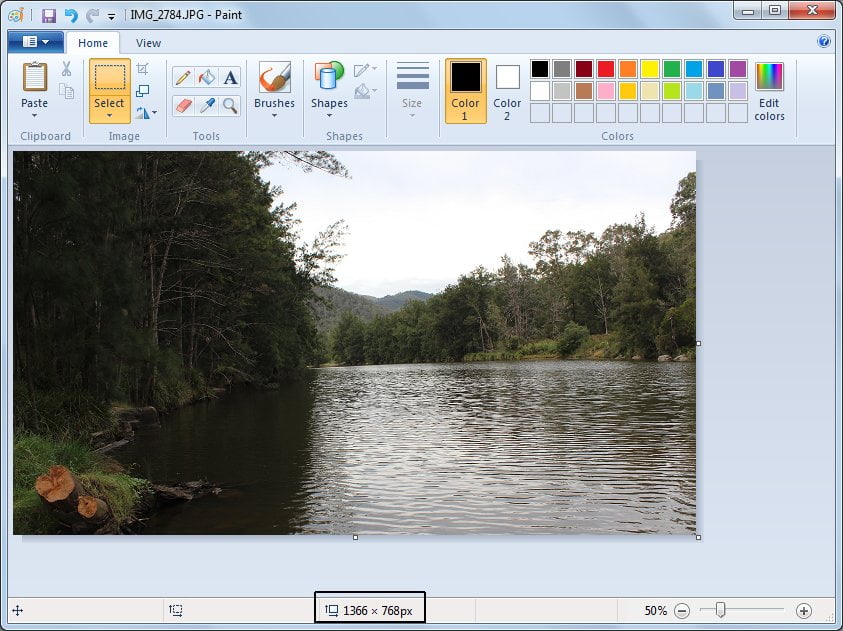
- The photo will now be cropped to the size required
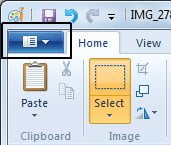
- Click the Paint button
- Select Save As
TIP: Do NOT select the normal save option or you will save the changes over the top of your original photo
- Give the photo a new File name, I like to just append the word “wallpaper” to the file name
- Click Save
- To set the new photo as your desktop wallpaper, click the Paint button again then choose Set as desktop background
- Your photo will now be displayed perfectly on your desktop background
I hope this has assisted to customise your computer’s desktop background with your own photo. If you are interested in more articles working with images, why not check out my article on how to crop an image using Microsoft Paint.


4 Responses
Well, I am looking for Like button!
Sorry but this didn’t work in Win 10.
Hi,
Which part didn’t work?
Thank you for your help. It worked!!!