

Microsoft Sway allows you to easily create digital stories which can be shared with other users. The Title card in Sway is used in a similar way that we would use a Title slide in PowerPoint. The Title card is created by default when you create a new Sway and cannot be deleted. You also cannot add any additional Title cards. The Title card includes some unique features which other card types do not include. Let’s explore the Title card capabilities and how you can customise the Title card to suit your story.
How to access Microsoft Sway
You have two main options to access Microsoft Sway: desktop app and online.
To install the Sway desktop app, follow these steps:
- On your computer, click the Start button and locate Microsoft Store
- Once the Microsoft Store is displayed, click inside the Search button in the top right corner and type Sway
- From the results locate the Apps section and Sway will probably be the first app listed
- Select it to view more details and then click the Get button
- Sway will now be installed on your computer
- Once the installation is completed, click the Launch button. Alternatively, you can locate the Sway app in your Start menu
If you prefer to work through your web browser, follow these steps:
- Open your preferred web browser
- Enter the address https://sway.office.com/ and hit Enter
- Click the link to log in using your Microsoft account
- The Sway start screen will be displayed
Personally, I prefer to use the App but having access to the online version is great when I’m away from my computer.
Create a new Sway
Firstly we will create a new Sway story to work with for this exercise.
- Open Microsoft Sway (I’m using the desktop app)
- From the Sway screen click Create New
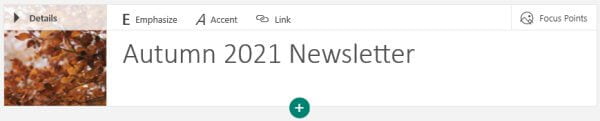
- A new Sway will be displayed with a Title card already displayed
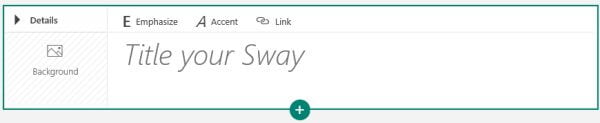
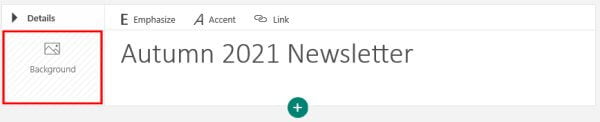
- Enter a Title for your Sway into the card
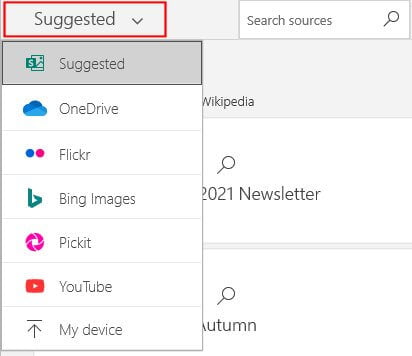
- Now let’s add a background image to the Title card which also doubles as the poster image shown on your Sway within the main Sway window
- Click the Background button
- A list of Suggested Searches will appear in a panel down the right-hand side of the screen. This will allow you to perform an image search via Bing, YouTube or Wikipedia. You are responsible for checking copyright on any images you use.
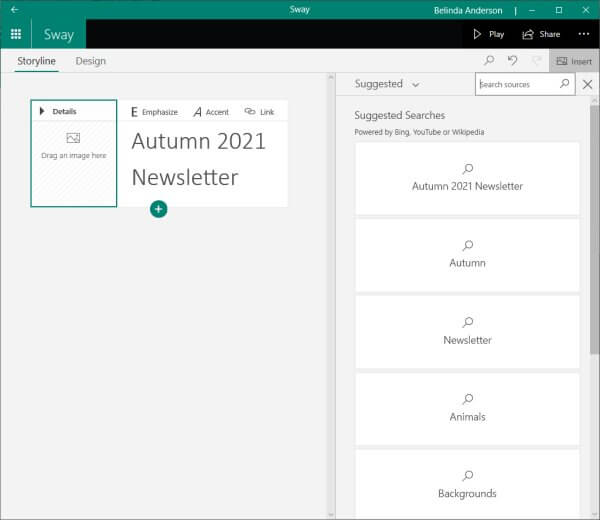
- If you prefer to use your own images or have downloaded images from a free stock image library, click the Suggested drop-down menu and choose My device
- Navigate your computer and locate the image you wish to use, select it and click Open
- The image will be uploaded into the Title card
- Click the X on the top right corner of the Suggested image panel to close it
Editing the Title card
Each card type has multiple elements which you can customise. The Title card is made up of 3 individual elements: a text card, a background, and a logo. In the previous steps you added title text and a background image however let us explore the other options available.
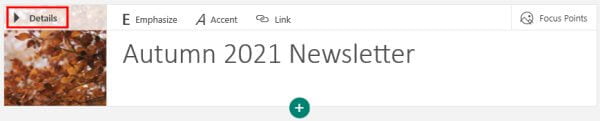
- Click the Details button from the top left corner of the Title card
- You can now see the separate options available including the Text Card, Background and an option to Add a logo
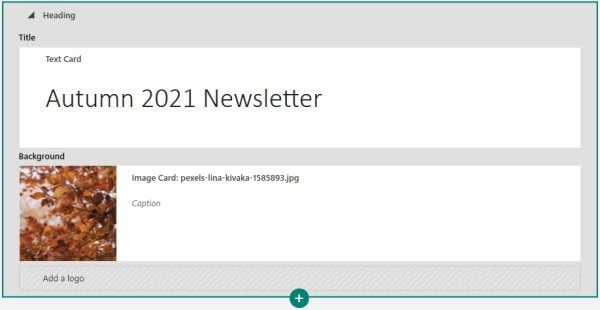
- Click within the Text Card
- You can now edit the title text, apply the Emphasize and/or Accent formatting or Link the title to a website URL
The Emphasize and Accent formatting options only really affect the look of text once you have a Design applied, we will cover this later.
Edit the Background of the Title card
Within the Background section, you can change the image being used or add a Caption. Weirdly the captions are not displayed for background images so even if you enter a Caption, it will not be displayed on your Title card.
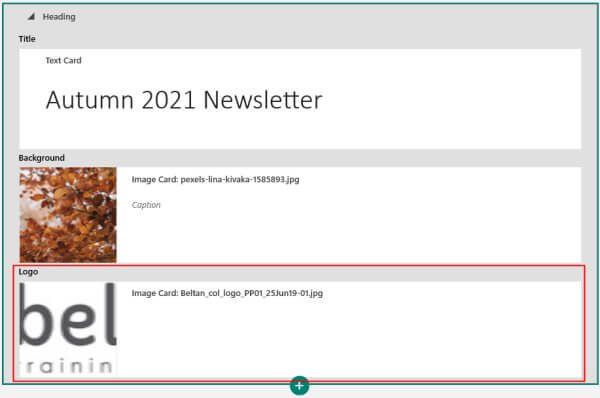
Add a logo to the Title card
The final option is to add a logo to the Title card. This can be used to brand your presentation with your company or school logo, upload a photo of yourself, or simply upload an additional image related to your Sway topic.
- Click the Add a logo banner
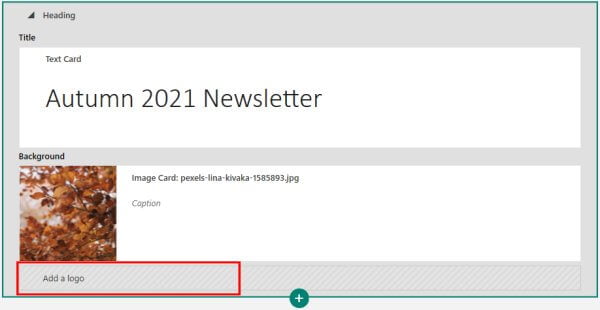
- The Open dialog box will appear to allow you to locate and select the image you wish to upload and click Open
- You should be able to see your logo or image displayed in the Logo section
- Click outside the Title card to collapse the card back up
- Now let’s see what the title card will look like when you play your Sway
- Click Play from the top menu bar
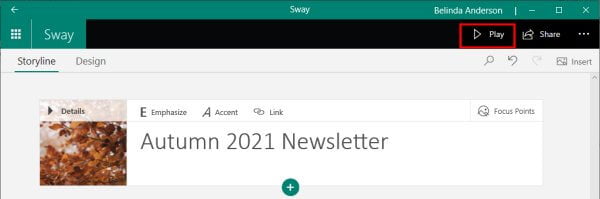
- The Sway will now be displayed in full-screen view:

- Press Esc on the keyboard to exit full-screen view and continue to edit your Sway


2 Responses
My title card has a red background which is not inline with the rest of the colors being used. I can not find anywhere, where this color has been defined. That being said: the color difference is that much shocking that I would consider not using sway for my presentation…
Have you applied a Style to the Sway via the Design section? If so, which one have you applied? If you go to the Design section, then click Styles to the top right corner, you will see which Style is applied and there should be a “Customize” button next to it. Click that and you can change the colour palette being used or even set your own colours through the colour inspiration section.
Hope this helps.