

The use of email for many people has become a daily event. Companies and organisations rely heavily on the use of email for correspondence with both internal and external contacts. One aspect of email which can provide great time saving is the use of distribution lists in Microsoft Outlook.
A distribution list is a group of contacts that are given a central name as a reference. Instead of having to address an email to Bob, Sarah, Jane, Alex and Cameron, you can create a group containing these contacts and reference a single group name such as “Marketing”.
Microsoft Outlook makes it very easy to create, edit and maintain a distribution list as part of the Contacts area. You can include contacts that you have already saved as an Outlook contact, from the Windows Address Book or you can even create a new contact during the process.
To create a distribution list, follow these steps:
- Open Microsoft Outlook
- Click People from the Navigation Pane or use the keyboard shortcut Ctrl + 3
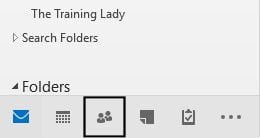
- You will now see the contacts you have saved within Microsoft Outlook
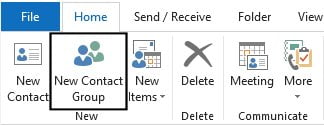
- Click New Contact Group from the Home tab
- The Untitled – Contact Group window will appear:
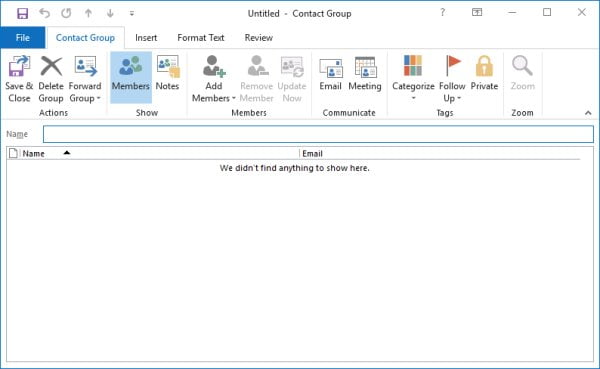
- Firstly you need to give your group a name, it should be something which you will remember easily and should be something which reflects the group of contacts you are including. If it is for a work-based project then you could use the department name or project name; if the group is made up of friends or family you can use a suitable name based on those included. Above all else try to keep it short and sweet! Add the group name into the Name field box.
- Now you will need to add some members to the list
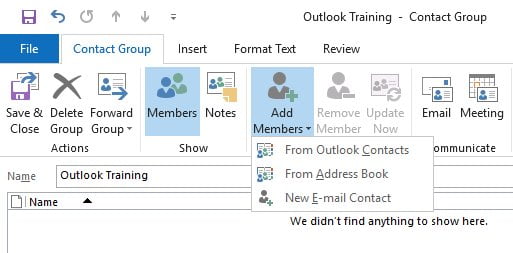
- Click the Add Members button from the Contact Group tab and choose the option you require. If you already have the members saved as an Outlook Contact then choose From Outlook Contacts, if you do not have the person saved you can select New E-mail Contact
- You will now see a list of your contacts
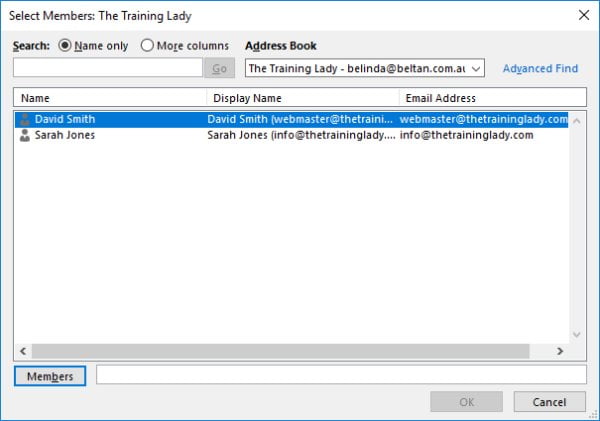
- To add a contact to your list, double-click their name and they will be added to the Members field at the bottom of the window
- Continue adding members until you have included all the contacts you wish to include
- Click OK
- The members will now be displayed in the Contact Group window
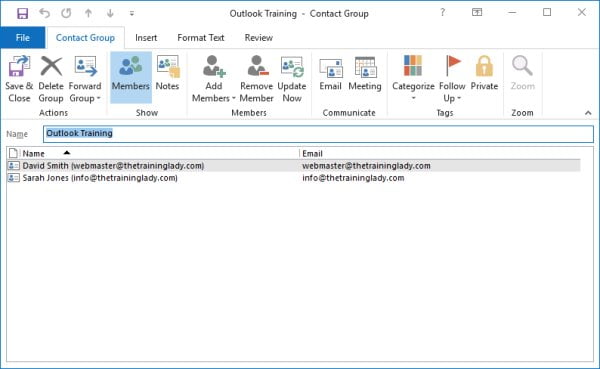
- If you have added a contact by accident, select the name from the list and click the Remove Member button
- Once you are happy click Save & Close
- The distribution list will now be added to your Contacts and depending on how you view your contacts will be displayed with a different icon than a normal contact

![]()
Send an email to a distribution list
Now that you have created a distribution list, it’s time to use it.
- Go to the Mail area using the Navigation Pane or use the keyboard shortcut Ctrl + 1
- Press Ctrl + N to open a new blank email message
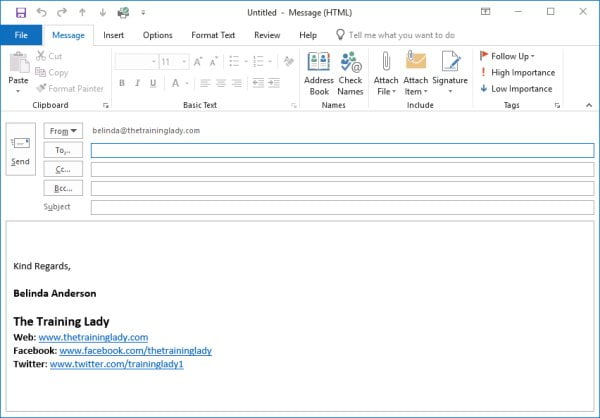
- In the To field begin typing the name of your distribution list, in my example, I used the name Outlook Training
- If the name does not automatically prompt you with the list press Ctrl + K once you have entered the name and Outlook will perform a name check and see if it matches any contact or distribution list names
- You should now see the distribution list name appear with an underline and a + symbol
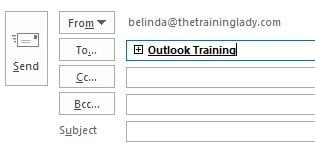
- Outlook has now matched the list name with your new list
- If you wish to view all the members individually, click the + symbol to expand the group. You should only need to do this if you want to check that a certain person has been included or wish to delete an individual person from receiving this specific message. If you do not need to do this then you do not need to expand the group
- You will see a warning message that if you expand the list, the list name will be replaced with the individual members’ names and you will not be able to collapse it
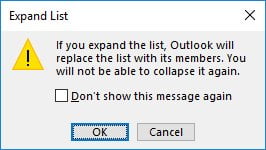
- Click OK
- All the members will be individually listed
- Add a subject to your email message and text to the body of the email and click Send
- You have now sent an email using a distribution list
If you need to edit the members of the list at any time you can do so through the People area, open the distribution list and make changes and then select Save & Close.
If you found this post useful you may also like to check out: Create a signature in Outlook, Email Tracking Options in Outlook, Create a rule to forward email to colleagues in Outlook, or Create a rule to move email to a specified folder.


