I don’t know about you, but I have many appointments which repeat on a regular basis. I for one, certainly do not want to have to put those into my calendar one by one, it would take a long time. This type of appointment is referred to as a “recurring appointment” and is very easy to set up once you know how.
A recurring appointment is great if you want to remind yourself of regular tasks both in your personal life and work life. Include tasks such as paying bills, your child’s sporting activities, reminders when reporting is due, system checks you need to perform and much more.
It’s important to remember that an appointment in Outlook is not just for when you physically need to go somewhere, such as an appointment with a client, it can also be used as a way of allocating specific tasks you need to complete on specific days.
To create a recurring appointment, follow these steps:
- Open Microsoft Outlook.
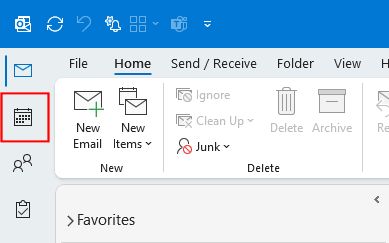
- Click the Calendar icon from the navigation pane:
- Locate the day and time in the Calendar where you wish to add a recurring appointment and click it once with the left mouse button:
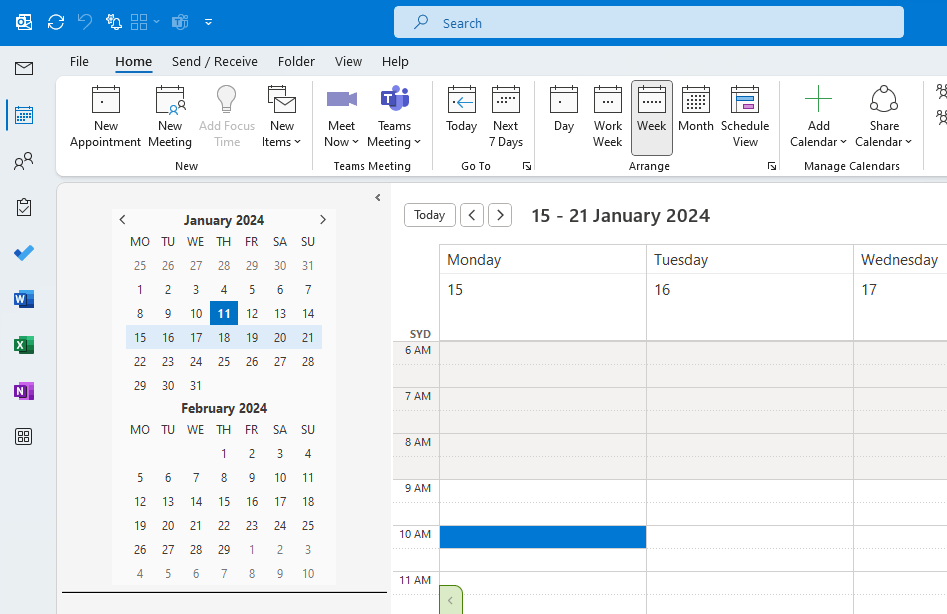
- You will see a blue bar appear
- Double click the time slot to see the Untitled – Appointment window appear:
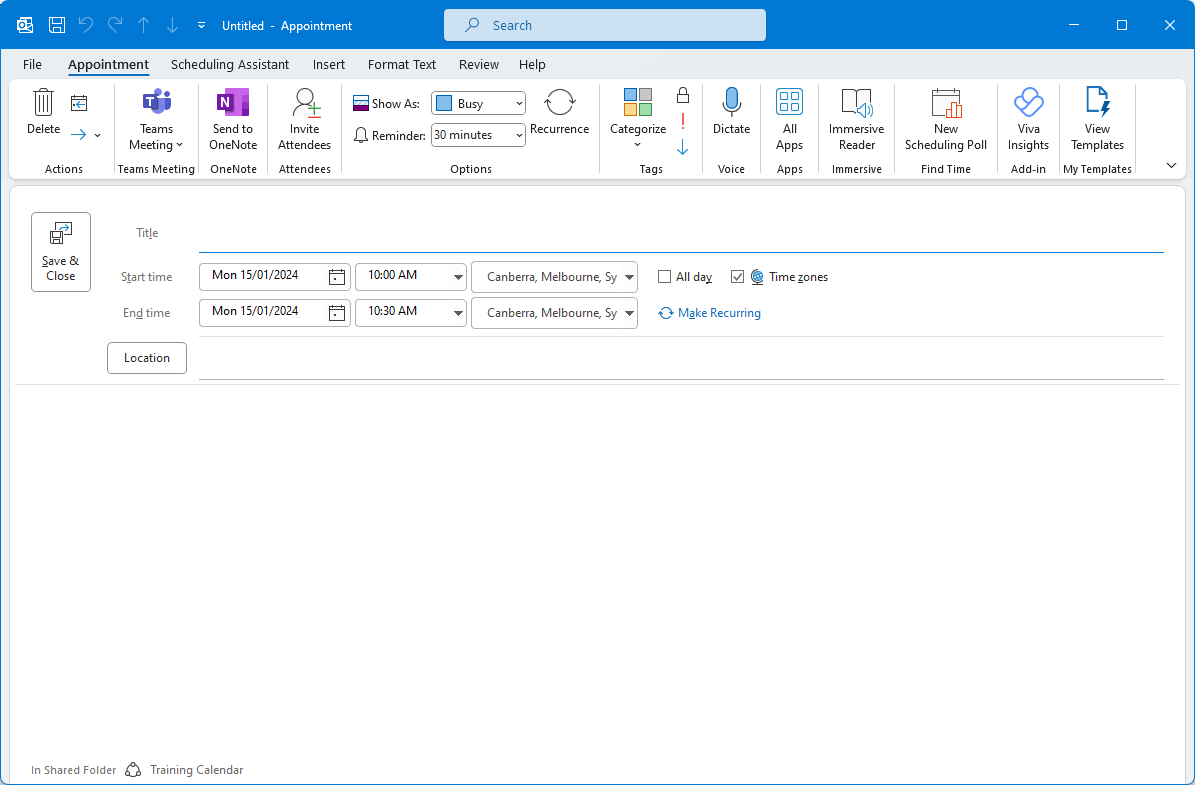
- By using the double-click to open the window, the Start time and End times have both been filled in for you based on the time slot in the calendar that you double clicked.
- You can now add a Title e.g. Pay phone bill
- In the Location you may choose to leave this blank if this does not apply to the specific appointment you are setting up OR you can enter an address or location for this recurring appointment.
- Ensure the Start time and End time are correct. If they are not, simply click the calendar icon to adjust the dates or the drop-down menu to adjust the time.
- Next, you should select how to show this time within the calendar, is it just that you will be busy, or will you be out of the office, use the drop-down menu to select the appropriate option. Other colleagues within your organisation can see this information and tell if you are unavailable for a meeting etc.
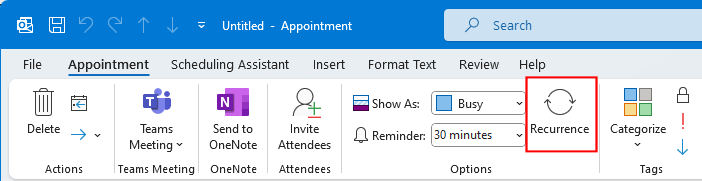
- Now click the Recurrence button on the Ribbon
- The Appointment Recurrence dialog will appear:

- You can now specify a recurrence pattern e.g. daily, weekly, monthly, yearly. I am going to choose Monthly.
- Now you can select if you want the appointment to always occur on the same day of the month or if it needs to be every third Tuesday. I am selecting Day 21 of every 1 month.
- Next, you can specify the Range of recurrence. Do you want the appointment to continue indefinitely in your calendar or does it need to stop after a set number of occurrences? Make your selection from the options.
- Click OK to return back to the appointment window.
- You will now see the Recurrence details shown in the window:
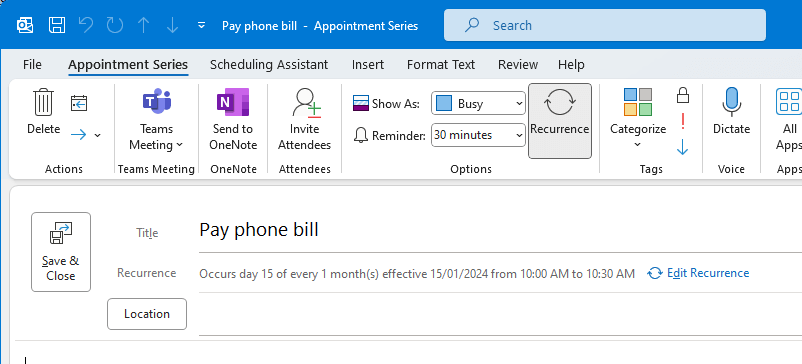
- Now click Save & Close.
- Move ahead in your calendar to the next date that your appointment should occur on and ensure it is displayed in your calendar.
- You have now created a recurring appointment.
You will now see your recurring appointment in your calendar in the time frame you specified. By default, you will also receive a Reminder on the day through the Reminders window. Click here for more articles relating to Microsoft Outlook.