Microsoft OneNote is a versatile note-taking application that can help you stay on top of your to-do list by allowing you to organise your daily tasks. I’m personally a huge fan of OneNote and it’s one of my favourite courses to run. OneNote will allow you to create content using various different content types such as text, video, audio, bullet lists, tables and lots more. However, a To Do List is one that many users don’t realise is available.
OneNote offers various formats for lists such as simple bullet points, numbering, and checkboxes. For this exercise we don’t just want to create a bullet point or numbered list like we would in Microsoft Word. I want to create an interactive To Do List which will let me see immediately which items are completed and which are still pending and will even let me see a summary of all my To Do list items in one place.
Tags in OneNote
The To Do option is OneNote is technically referred to as a tag. There are many different types of tags available which allow you to highlight different types of information. Tag options include:
- tags to mark items as Important,
- tag Questions,
- tag Contact or Address information,
- tag Ideas and,
- you can even create your own custom tags.
In this blog post, we’ll walk you through the steps to create a To Do List in OneNote.
- Open Microsoft OneNote.
- Open a Notebook where you would like to create the To Do list.
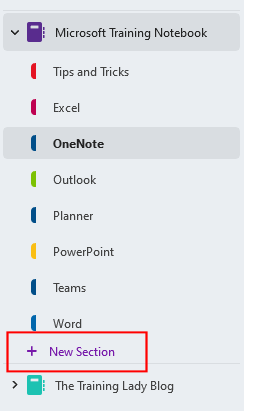
- To create a new section, click the + New Section option within the Notebook sections list:
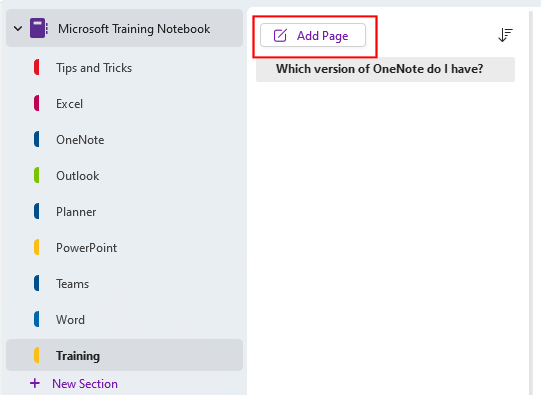
- To create a new page, click on the Add Page button which is located within the pages list:
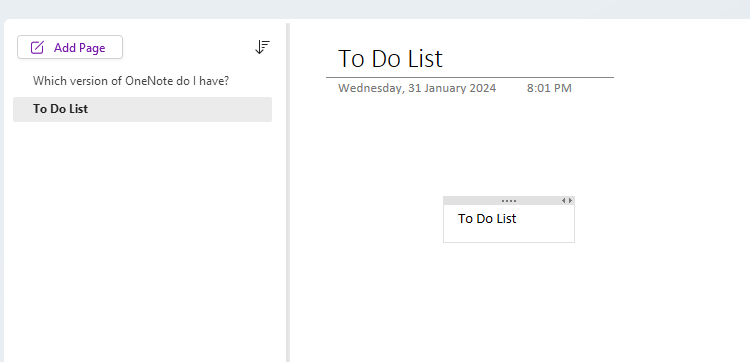
- To name the page within the pages list, add the page title to the top section of the page, above the line which shows the date and time you created the page.
- Now click within the page area, the cursor will appear.
- Firstly let’s add a heading to appear above our To Do list.
- Type in a suitable heading, even To Do List.
- To make the text a proper heading, ensure your cursor is within the line of text.
- From the Home tab click the Heading 1 style to apply it to the text.
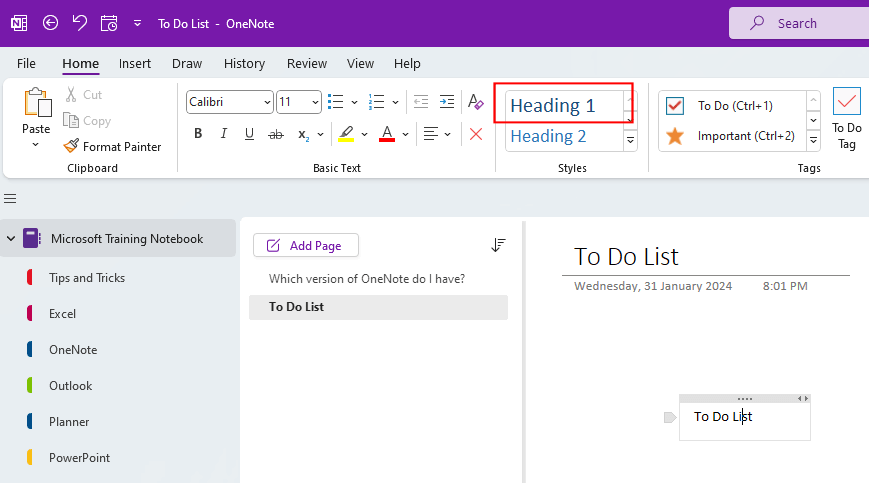
- The text will now be formatted using the Heading 1 style.
- Press Enter a few times to create some space between the heading and the start of the To Do list.
- From the Home tab click the To Do tag style. You can also use the shortcut Ctrl + 1 on the keyboard.
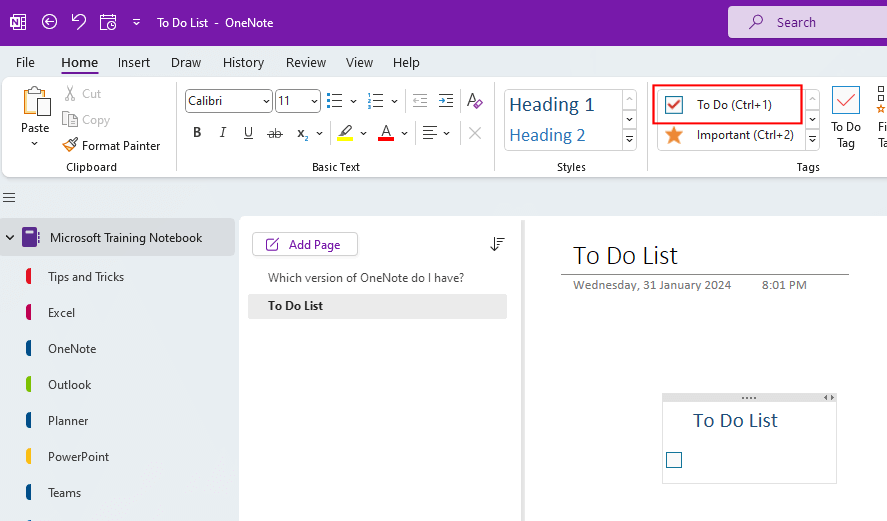
- A checkbox for the first list item will appear.
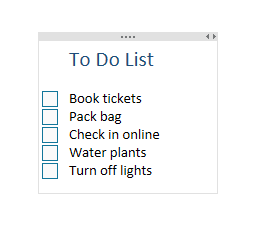
- Type in the first to do list item.
- Press Enter to create the next item in the To Do List.
- Continue adding items to the list as needed.
Change alignment of To Do list items
You’ll notice in the example above that my heading (To Do List) and the actual list of things I need to complete, do not line up. The heading is lining up with the text for the items but the checkbox itself is sitting off to the left. So how can we fix this so they line up nicely?
- Click within the To Do List and highlight all of the list items.
- From the Home tab click the Increase Indent Position button:
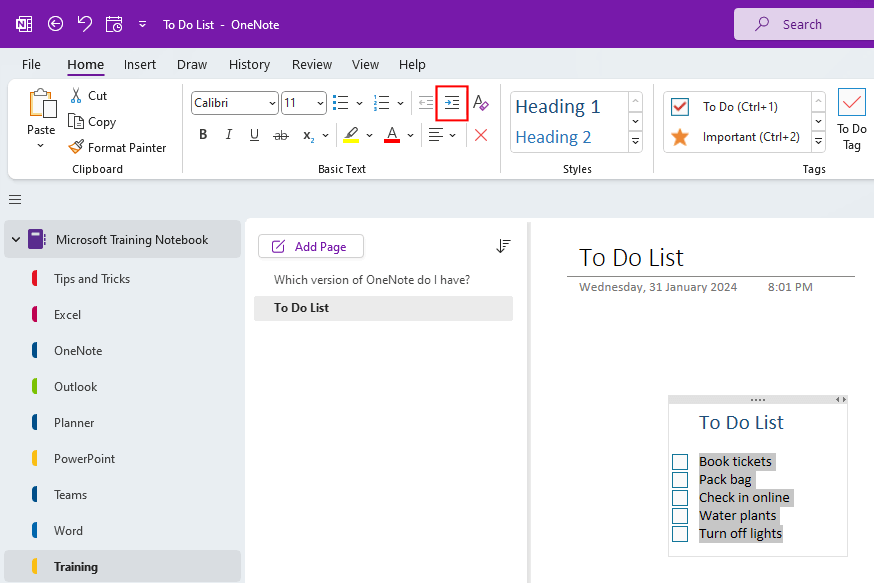
- The list items will now move to the right and the checkboxes will be aligned with the heading above.
View all To Do list items
The more you begin to use Tags within OneNote, the more you will start to rely on them to keep you organised. But what about when you have tags being used across multiple pages and multiple sections. It would be time consuming to have to navigate to the individual To Do list items regularly. This is when the Tags Summer pane comes in very handy.
- From the Home tab click the Find Tags button:

- The Tags Summary pane will open on the right hand side of the screen:
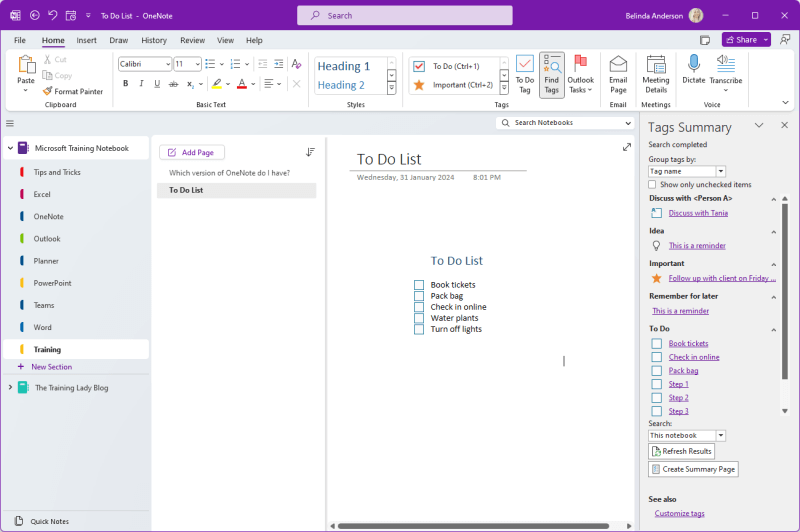
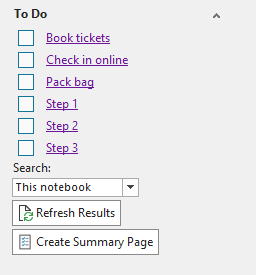
- You will now see a summary of all the types of tags you have used within the current notebook.
- Find the To Do heading and you will see a checklist view of all To Do List items across the entire notebook.
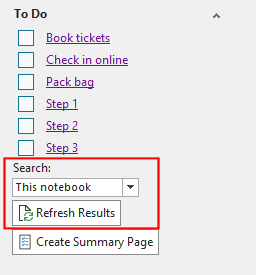
- To change the search location, use the Search drop-down menu and select the appropriate option such as This Section or This Page Group.
- Click Refresh Results:
- To add the content from the Tags Summary to an actual page, click the Create Summary Page button.
- A new page will be created along with the summary of your Tags displayed:
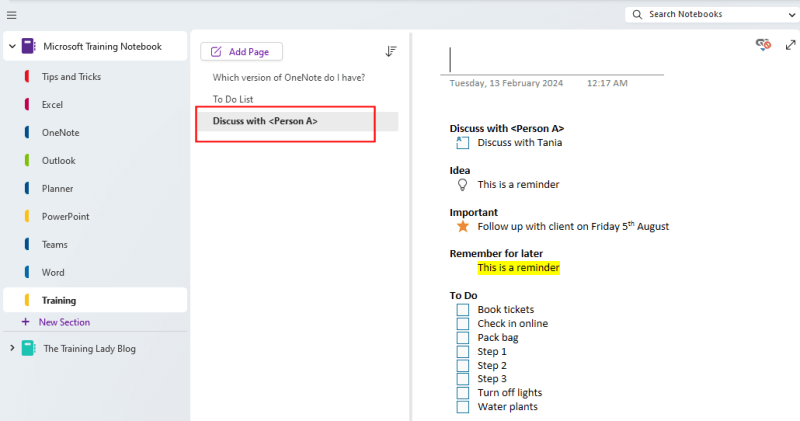
- Add a Page Title to the summary page.
Now that you know how to create a To Do list using OneNote, go ahead and create lists as needed. Remember to use the Find Tags feature to see an overview of your tag within your notebook files. Comment below any questions or be sure to check out other OneNote articles to continue learning.