Have you ever attended an event where a slideshow of photos was showing on a screen for everyone to view? Ever wondered how to create one? It’s very easy using the Photo Album function available in Microsoft PowerPoint.
I’ve used this feature to quickly create a slideshow of photos for my daughters’ birthdays and other special occasions and have always had great feedback. You can easily hook your computer up to many of the latest TV systems to allow your photo album to be displayed on your LCD or digital TV or even connect your computer to a data projector if you have one available.
The photo album feature is also useful in a business context and can be used at demonstrations, trade stands, expos or conferences. Why not use a photo album to chronicle corporate events or the timeline of events for your project!
To create a photo album, follow these steps:
- Open Microsoft PowerPoint (I’m using PowerPoint 2016)
- You will need a new blank presentation displayed
- Select Insert from the Ribbon and click the Photo Album button
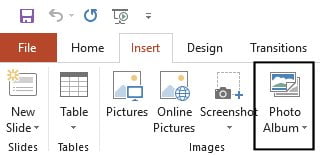
- The Photo Album dialog box will appear:
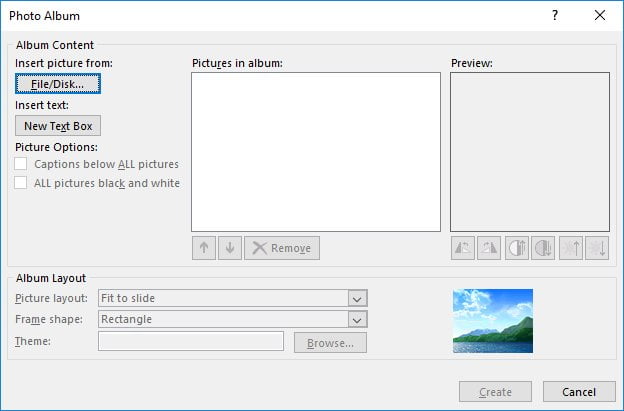
- You will now need to import the pictures you wish to include in the photo album
- Click the File/Disk button to browse your computer’s hard drive
- Locate the pictures you wish to import
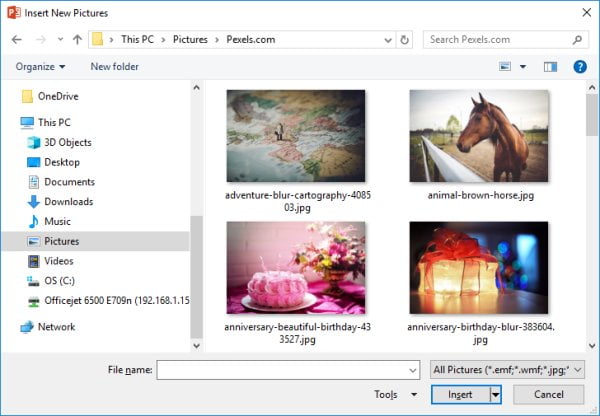
- If the pictures are located in multiple locations, that is fine, just repeat this process for each location till all the pictures you want are imported
- Now you must select the pictures to insert. Here is a time-saving tip: do not import the photos one at a time. Import multiple pictures at once by selecting them with the left mouse button while you hold down the Ctrl key on the keyboard
- You will see multiple file names appear in the File name box

- Once you have selected the pictures from this location, click Insert
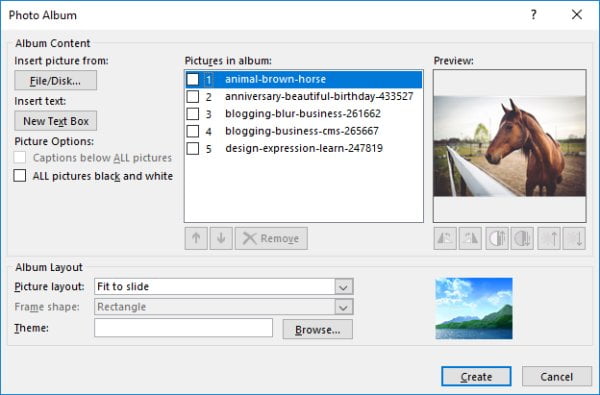
- You will now see these pictures listed in the Photo Album dialog box
- To import more pictures, click the File/Disk button again and repeat this process
Editing the photos
One of the benefits of using the Photo Album tool is the built-in editing capabilities. Although these are very basic, they can save you time as you don’t need to adjust your photos in another program prior to importing them into PowerPoint. You can easily flip a photo (which is great if a photo you have imported is displayed the wrong way up), and also adjust the brightness and contrast of a photo. You can rearrange the order the photos are being displayed, remove a photo if you have imported it by accident and even display all photos in black and white.
If you want to section your photos into different categories, for instance, you may be displaying photos of your child from birth till current age, you can include a text box slide and insert text which will show up the age of your child.
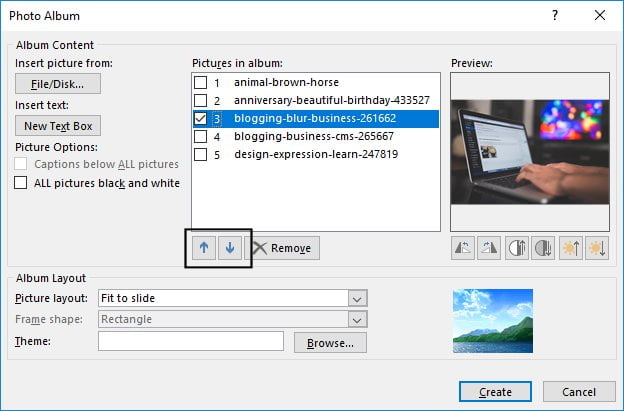
- Firstly I want to rearrange the order of my pictures
- Select the first photo you wish to move by placing a tick in the checkbox, then use the up and down arrow buttons to move it into a new position in the list
- I now want to include a text box at the start of my album and also prior to the photo of the laptop
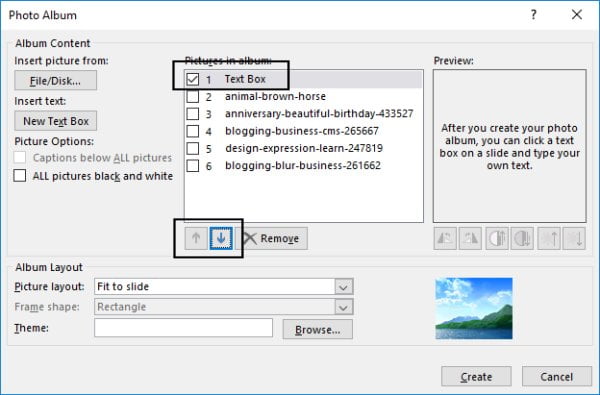
- Select the first picture and click New Text Box
- A text box will now be added to the Pictures in album list. This text box will allow you to type text into a slide to be displayed in the photo album
- You will need to use the up arrow to move this text box to the beginning of the album order
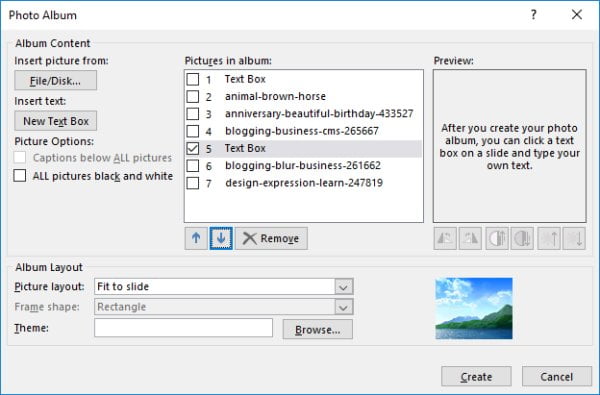
- Repeat this process and insert a new text box before another picture in your album
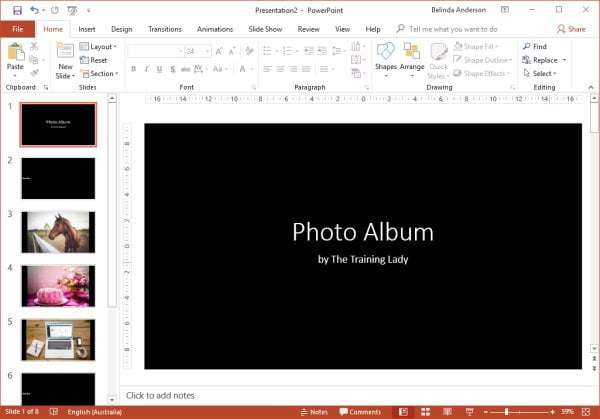
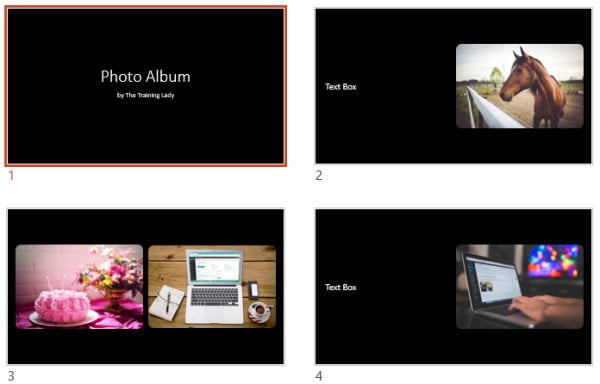
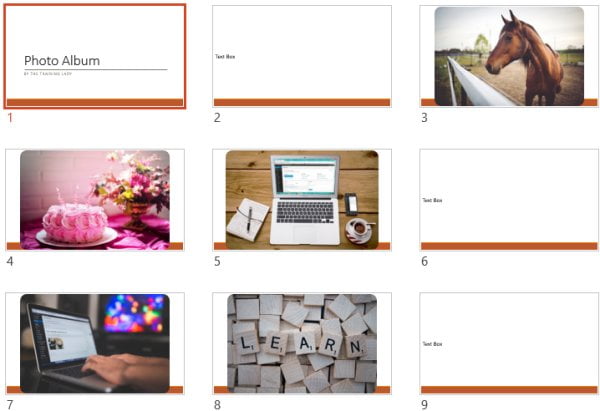
- Now we are going to click Create to see what our photo album looks like at this stage
Album Layout
The album layout options allow you to specify three different options for your album.
First, the Picture layout drop-down menu allows you to specify how many pictures you wish to display on each slide. By default the album will have the pictures set to “Fit to slide”, this can sometimes mean your photos are stretched and become distorted so you have options to display 1 picture per slide (so the picture is not stretched, just positioned in the middle of the slide), you can even have 2, 3 or up to 4 pictures included on the one slide. If you decide you want to include a title for each picture then you can select this option from the Picture layout menu.
The Frame shape drop-down menu allows you to put nice edging around your photos. You can round the corners, put a simple frame around each picture or even a darker frame if you prefer.
The Theme drop-down menu allows you to browse the many themes available and choose a design theme to apply to your slides. The theme you select will be visible on the opening slide, any slides which contain a text box and any slides where the picture is not set to fit to the entire slide.
Remember that you can come back and change these settings at any time so you can experiment with different options before you decide on the one you prefer. Now that we have created the photo album and can see our pictures on the slides, let’s experiment with the layout.
- Return to the Insert menu and click the down arrow located underneath the Photo Album button
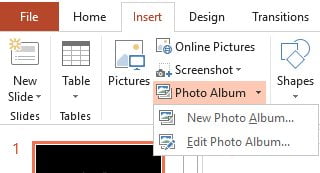
- Select Edit Photo Album
- The Edit Photo Album dialog box will appear, which is exactly the same as the previous dialog box we were using
- From the Album Layout area select the Picture layout drop down menu and choose 2 pictures
- Change the Frame shape to Rounded Rectangle
- Click Update
- The photo album will now be updated so that the photos are displayed with 2 on each slide and you will see that the text boxes we inserted have been included on the 2 per slide layout
- Return back to the Insert > Photo Album > Edit Photo Album button
- You can experiment further with these settings if you like, otherwise change the Picture layout back to Fit to slide
- Now let’s apply a theme to our photo album
- Click the Browse button adjacent to the Themes field
- Depending on which views you use for your folders within Microsoft Windows, you may see the list of themes as small icons as shown below:
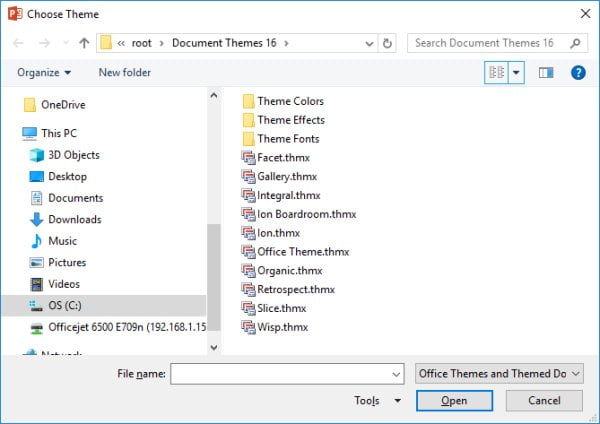
- This view makes it quite difficult to identify which theme you may like the look of
- To preview the theme simply click the More options arrow
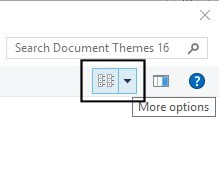
- Choose Large icons or Extra Large Icons and you will now see a preview of the colours and design used by each theme
- Select a theme you like and click Select
- Click Update to preview your changes in the photo album
Finishing touches
Once you are happy with the pictures you have included, the theme used, the layout of your pictures, you can then make the finishing touches such as including titles and setting up your album to automatically run through.
It’s important to be aware that if you make changes to your photo album, such as adding animations, resizing individual pictures or changing their position on the slide, and you then go back and edit the photo album settings and click Update, you will lose any changes made outside the Photo Album dialog box.
For the final touches let’s now fill in some titles:
- Go to slide 1 which shows the title for your photo album and also author details
- Click inside the text boxes and edit the text to be what you would like displayed
- Repeat this for any text boxes you have included within the photo album
- Now to set up the photo album so that it moves through the pictures automatically at set intervals
- Select the Transitions tab and locate the Advance Slide controls
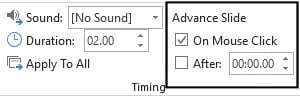
- Untick the option for On Mouse Click as we want the photo album to move through each photo automatically without our intervention
- Tick the box for After and change the setting using the up and down arrows to 6 seconds. Of course, you can use whatever length of time you wish, enter a value and test it before you decide on what you will end up using
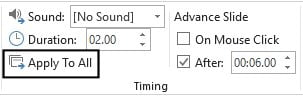
- To ensure this setting applies to all slides within the photo album click the Apply To All button
- Now press F5 on the keyboard to run the photo album in slideshow mode
- Do not press any key on the keyboard or click the mouse button and see if the slides move to the next as specified
- As the final step in this process, we now want to set our presentation so that when it reaches the last slide, it will restart back at the beginning, we want it to “loop”
- Go to the Slide Show tab on the Ribbon and click Set Up Slide Show
- In the Show options area tick the box for Loop continuously until ‘Esc’ then click OK
- If you are happy with the time frame each picture is displayed for then press Ctrl + S on the keyboard to save your file to your preferred location and with a meaningful file name
Your photo album is now ready to be used at your next function. You can display this using a data projector or if your TV is compatible, you can connect your computer directly to your TV and run the photo album presentation through your TV screen. Consult your TV’s user manual for instructions.
I hope you have enjoyed learning how to create a photo album using PowerPoint. If you enjoy working with pictures in PowerPoint you may also enjoy my other posts Use PowerPoint animations to make an object appear and disappear, The Office Clipboard – a hidden treasure, Insert a SmartArt graphic in PowerPoint, and how to Embed a YouTube video in a PowerPoint slide.