Microsoft Word is known as the go-to option for any type of word processing tasks. To ensure you are maximising your productivity when creating new documents or working with existing documents, it’s crucial to master fundamental features such as Cut, Copy, and Paste. Whilst you may have experience with these features already, maybe there will be some little tricks that you didn’t know which will improve your workflow even further.
Keyboard shortcuts for Cut, Copy & Paste
I am a HUGE believer of using keyboard shortcuts. Keyboard shortcuts will improve your productivity two-fold if used regularly instead of traditional options which require the use of the mouse. The keyboard shortcuts for Cut, Cope & Paste are simple and located adjacent to each other on the keyboard:
| For PC | For Mac |
| Cut: Ctrl + X | Cut: ⌘ + X |
| Copy: Ctrl + C | Copy: ⌘ + C |
| Paste: Ctrl + V | Paste: ⌘ + V |
Be sure to download a copy of the best shortcuts for Microsoft Word here.
Using Cut and Paste
The Cut feature is a simple way to relocate/move information within a document. You can also use the Cut function to move content to another file or program. You can cut all types of content that you can insert into Word, and move it into another Word document, or any other Microsoft 365 application. E.g. Move text or an image from a Word document into a PowerPoint presentation.
To use the Cut feature, follow these steps:
- Open Microsoft Word.
- Create a new blank document and type in a simple phrase or sentence.
- Select the text you want to cut by clicking and dragging your cursor over it.

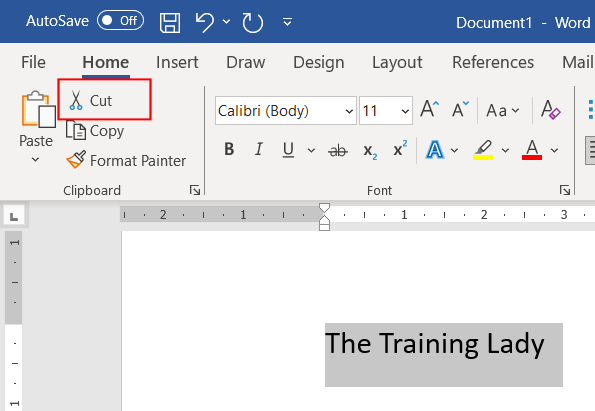
- From the Home tab, click the Cut button OR use the keyboard shortcut Ctrl + X.
- Now move the cursor to a new location where you want to paste the cut text. This can be within the same Word document, or within a different file altogether.
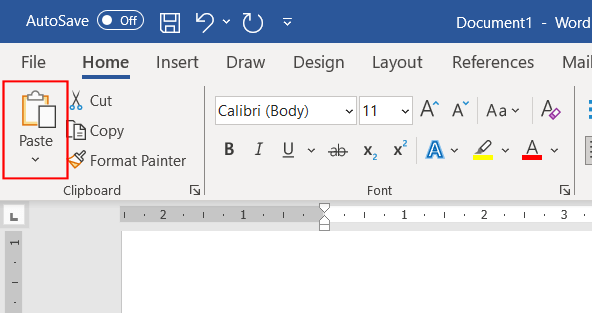
- From the Home tab, click on the Paste button or use the keyboard shortcut Ctrl + V.
Another option you can use to “cut” content from one location to another is using the drag & drop function. This option allows you to reduce the number of clicks with the mouse and the usage of the keyboard.
- Highlight the text you want to cut by clicking and dragging your cursor over it.
- Now use the mouse and grab the highlighted text and then hold down the left mouse button, drag it to a new location in the document.
- Release the mouse button to drop the content in place.
Using Copy and Paste
The Copy feature allows you to duplicate, or copy, content without removing it from its original location.
- Type in a simple phrase or sentence.
- Select the text you want to copy by clicking and dragging your cursor over it.
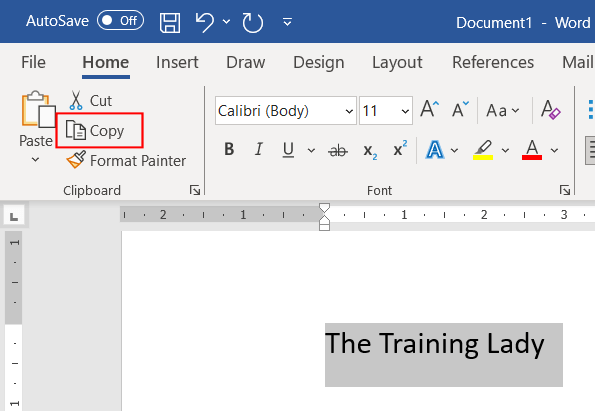
- From the Home tab, click the Copy button OR use the keyboard shortcut Ctrl + C.
- Now move the cursor to a new location where you want to paste the copied text. This can be within the same Word document, or within a different file altogether.
- From the Home tab, click on the Paste button or use the keyboard shortcut Ctrl + V.
- A second copy of the content will be inserted.
Another option you can use to “copy” content from one location to another is again using the drag & drop function. This option allows you to reduce the number of clicks with the mouse and the usage of the keyboard.
- Highlight the text you want to copy by clicking and dragging your cursor over it.
- Now use the mouse and select the highlighted text using the RIGHT mouse button.
- Hold down the right mouse button and drag it to a new location in the document.
- Release the mouse button and a short menu will appear:
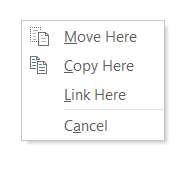
- Select Copy Here.
- A copy of the content will be inserted.
The Paste Special options
The Paste feature allows you to insert, or paste back in, the content you previous cut or copied. Microsoft Word offers several “special” paste options depending on your formatting needs.
Maybe the copied text needs to use the formatting already in use in the new location. Or maybe the copied text needs to keep the formatting from it’s original location. Maybe you want the formatting from the original location and the new location to be merged together. Let’s see how to use the Paste Special function for these extra pasting options.
To Keep Source Formatting, follow these steps:
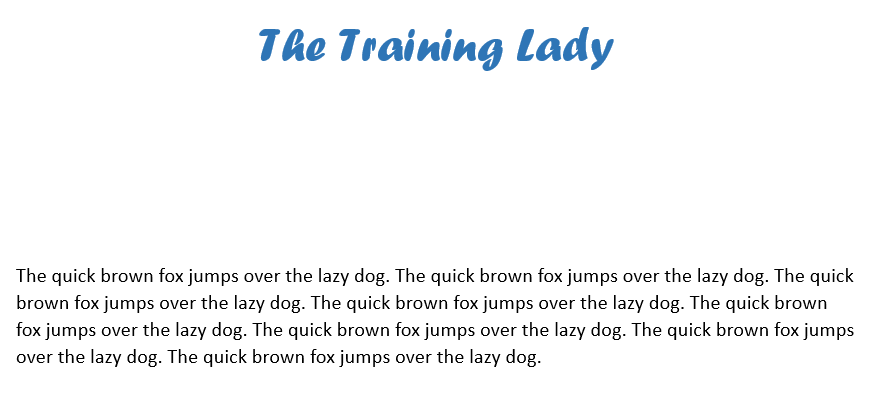
- Enter some text into the document.
- Format it so that it is different to the default formatting options. E.g. add Text Color, increase the Font Size and change the Font Style.

- Highlight the text and then Copy the content. (Ctrl + C)
- Move your cursor to a different location within the document.
- From the Home tab click the Paste button or use the shortcut Ctrl + V. By default the content will be Pasted using the Source Formatting (the formatted you had applied to the content originally).
If you are copying content from one location and pasting it to another location which uses completely different formatting, your content will always by default keep it’s original formatting. What if you don’t want it to do that? Paste Special gives you the option to “merge” formatting. This means that the pasted content will discards most of the formatting that was applied originally. It will however usually keep any options such as bold and italic, when it is applied to only a portion of the content. The pasted text will take on the style characteristics of the paragraph where it is pasted.
To Merge Formatting, follow these steps:
- Enter some text into the document.
- Again, format it so that it is different to the default formatting options. E.g. add Text Color, increase the Font Size and change the Font Style.
- Before you copy the content, create another paragraph within the document which uses the default formatting.
- Highlight the first piece of content with the fancy formatting and select Copy.
- Move your cursor down to the end of the plain text paragraph and select Paste.
- The text is automatically added to the end of the paragraph with the original fancy formatting.
- The Paste Option button appears.

- Click the Paste Options button and choose the icon for Merge Formatting.
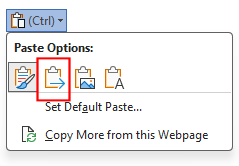
- The content will now change to match the formatting of the paragraph.
Experiment and give the remaining two (2) Paste Special options a try. The 3rd icon will convert your text content into a Picture and the 4th icon will paste your content with NO formatting applied so it will always be the default text formatting.
What if the Paste Options button doesn’t appear when you Paste any content?
This is a setting which can be disabled within the Microsoft apps. You will need to reactivate this option if you do not see the Paste Options button appear whenever you Paste any content.
To enable the Paste Options button, follow these steps:
- Click the File tab and choose Options.
- Select the Advanced option from the sidebar.
- Scroll to the Cut, copy and Paste set of options.
- Tick the box for Show Paste Options button when content is pasted.
- Click OK.
Cut, Copy, and Paste Across Documents
Efficiently managing information often involves working with multiple documents. Here’s how to navigate cut, copy, and paste across different Word files.
- Open the documents you want to work with simultaneously.
- Follow the standard cut or copy instructions within the document which contains the content you need to cut or copy.
- Change to view the document you need to Paste in to.
- Position the cursor where you want to insert the text and use the paste command.
Mastering the cut, copy, and paste features in Microsoft Word is a fundamental step toward becoming a proficient user. Feel free to comment below with any questions and remember to check out more Microsoft Word articles to keep on improving your skills.