The Image card in Microsoft Sway allows you to display images. Image sources can include OneDrive, Flickr, Bing Images, Pickit, YouTube or directly uploaded from your computer. The use of images and photos with your Sway helps to convey information effectively and can improve engagement with your audience.
You can perform an image search from within Microsoft Sway however it is important that you check the individual image offers a Creative Commons License to allow you to use the image without constraints. For more information see https://creativecommons.org/licenses/.
There are several great alternative options for downloading high resolution images which are available under a Creative Commons Licenses. Websites including pexels.com, unsplash.com and pixabay.com are just a few options but ensure you check the licencing requirements in case of any changes.
Insert an Image Card
Now let’s jump in and add an image card to a Sway.
- If you have the Sway app installed go ahead and open it, otherwise open a web browser and go to https://sway.office.com.
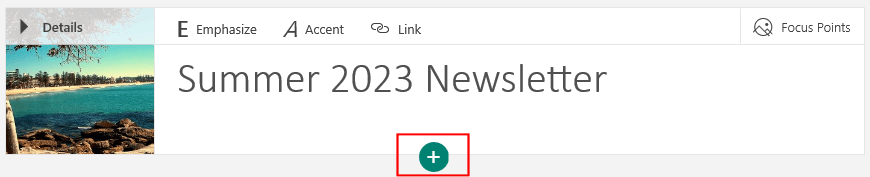
- Log in with your Microsoft account and open an existing Sway you wish to add content to, OR create a new Sway and add a Title card if needed.
- Once you have a Title card (shown below), click the + button to insert new content and choose Image from the options.
- The Image card will be displayed.
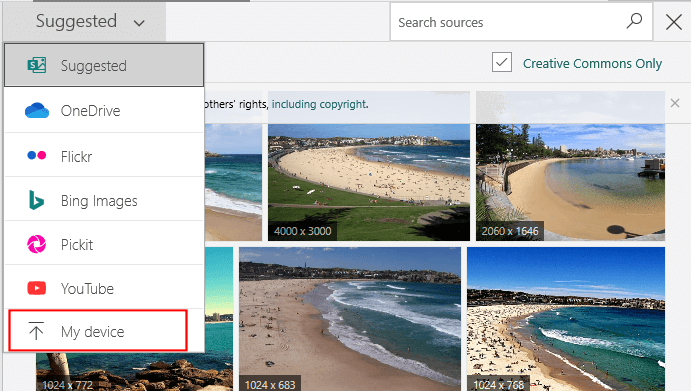
- You will notice the side panel pops open to allow you to search for images using the Suggested sources. It will remember any image search you performed when adding the Title card.
- Perform a search for a suitable image or if you wish to upload an image, click the drop-down of sources and choose My Device from the options:
- Locate and select the image you wish to upload.
- The image will now be displayed in the Image card.
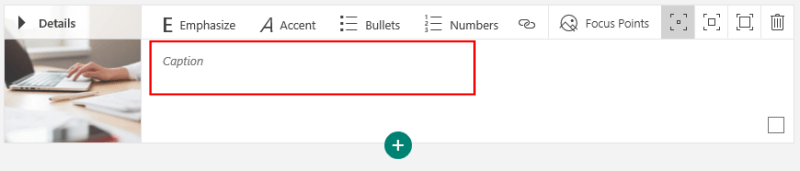
- The Image card includes the ability to add your own Caption. Click in the Image card to add a Caption.
- Click Play to preview your Sway.
Resize an image card
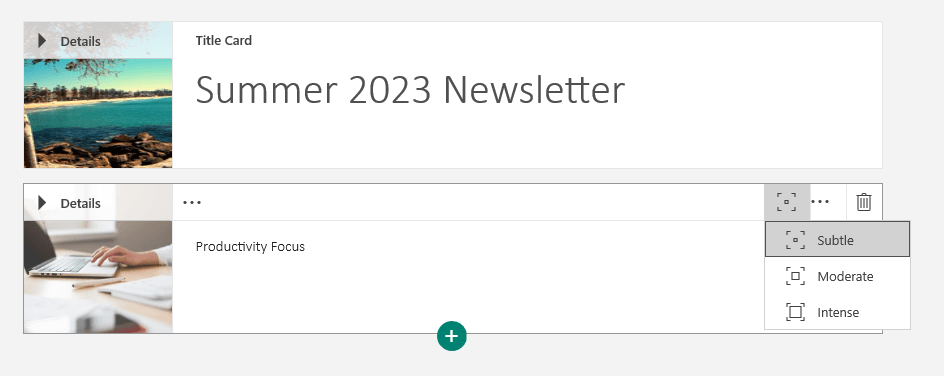
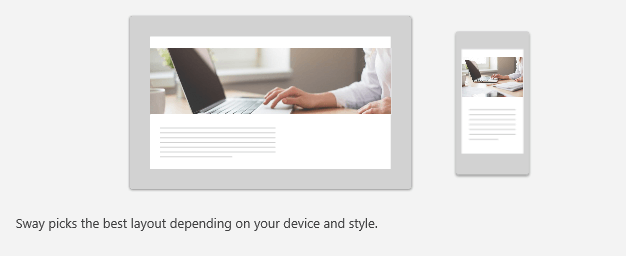
When we work with images in programs such as Microsoft Word or PowerPoint, we know we have the ability to resize the image. Microsoft Sway works a little differently and does not give you an option to “resize” an image. Instead you have the option of adjusting the image card Emphasis setting. Each Image card has an option for Subtle, Moderate or Intense. These emphasis options will dictate the size of your image card on screen.
- Each image card is currently using the Subtle emphasis setting.
- If I play the Sway to view the image, it is taking up a small section of the screen:
- Edit the Sway and change the image card to use the Moderate emphasis option:
- Play the Sway again and see that the image is now taking up more space.
- Edit the Sway again and set the image card to the Intense emphasis option and play the Sway.
- The image now takes up the entire screen width.
- Experiment with the emphasis setting and see what change it makes to each of the image cards.
Use Focus Points
Whenever an image is added into a Sway, it will try to identify key points within the image such as people’s faces, or the horizons within a landscape. It uses this information to determine how it will crop the image when displayed on various devices and this sometimes means that sections of an image are cropped off when you do not want it to.
To avoid this issue, images can have a focus point set to let Sway know which parts of the image you deem the most important.
To set a focus point:
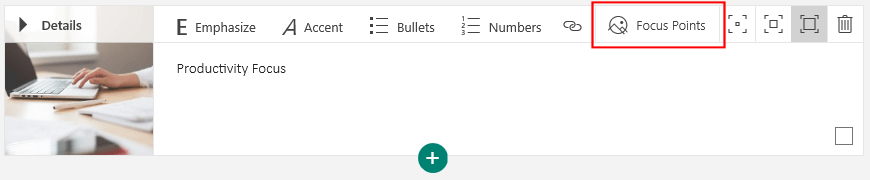
- Select the Image card you wish to edit.
- Click the Focus Points button from the toolbar:
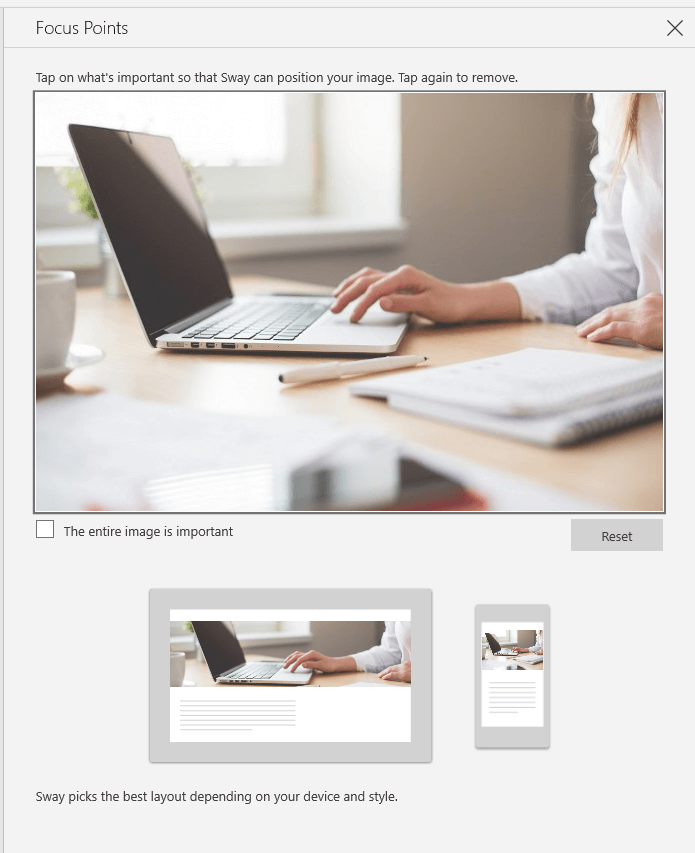
- The Focus Points panel will appear:
- Use the mouse to click on the areas of the image which are most important.
- You will see the areas identified by a circle:
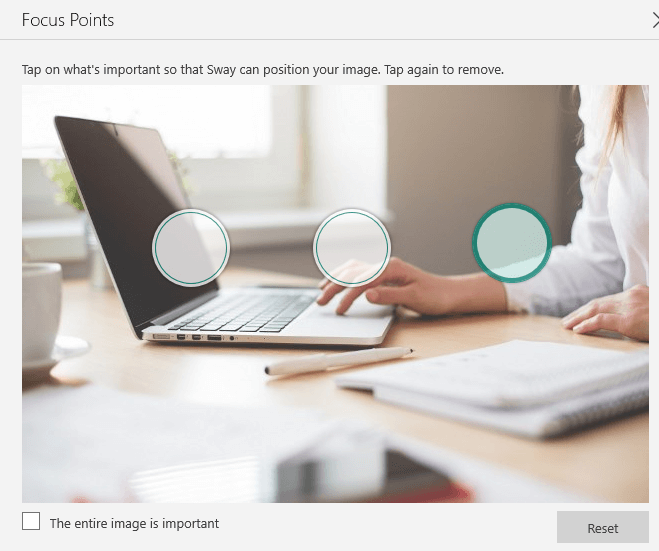
- The more areas you set as important; the more Sway will adjust the view of the image to fit most devices.
- You will see a preview at the bottom of the panel to show how the image will look on a computer and devices:
- If you need to start again, click the Reset button.
- If the entire image is important and should be displayed in its entirety, select the checkbox for The entire image is important.
- Close the panel once you have finished.
- Play the Sway to see the changes.
Add Alternative Text to an Image Card
Alternative text, commonly known as “alt text,” plays a crucial role in creating an inclusive and accessible digital presentation. It provides a description of an image or graphical element to provide essential information for individuals with visual impairments who use screen readers.
By using alt text with your Sway presentation you will enhance the accessibility of your content and promote inclusivity and compliance with accessibility standards such as the Web Content Accessibility Guidelines (WCAG).
Sway allows you to easily add alt text to the image cards within your presentation. Let’s have a look at how to add the alt text to each image card.
- Click into any Image card within your Sway.
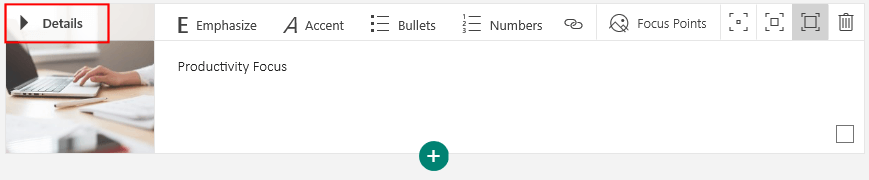
- From the Image card click the Details option:
- The Image card will now be displayed with the separate components shown including the Caption and Alternative text fields.
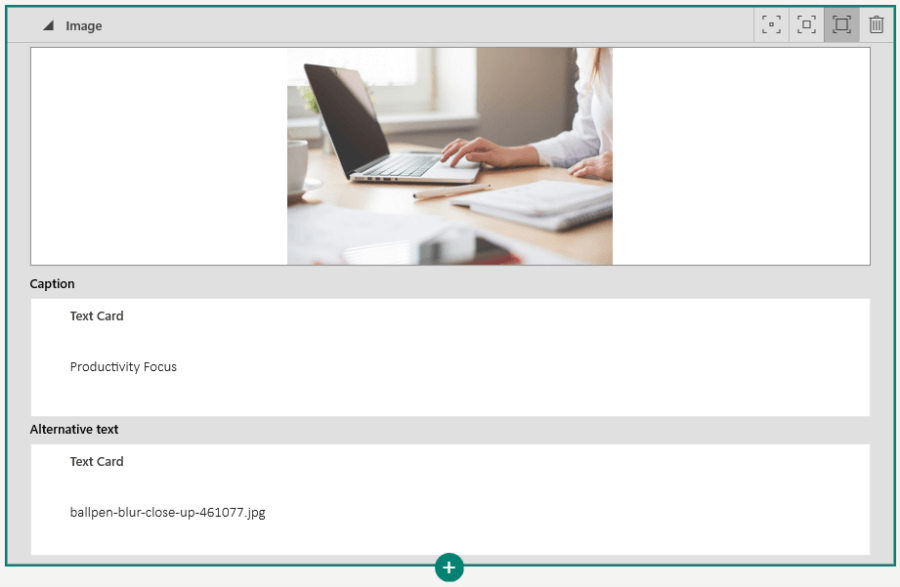
- Click in the Alternative text field and type in a description of the image. You will need to delete the text already displayed which defaults to the filename of the image.
- Click outside the Image card to complete the edit. The Image card will collapse up again.
That complets our look at the Image card in Sway and the various features you can utilise within your Sway presentation. Feel free to comment below with any questions.