In October 2015, I decided to take the plunge and upgrade my laptop to Microsoft Windows 10. I only started using Microsoft Windows 8.1 in June 2015 and was thankful to be able to customise the system enough to suit my needs. In actual fact I was quite happy using Windows 8.1 and decided to hold off on upgrading to Windows 10.
Windows 10 was released on 29th July 2015 and I was seeing mixed reviews online about the process and also about its functionality. A few weeks ago I decided to upgrade my husband’s laptop (my old laptop with Windows 7) to Windows 10 as a test run and see what is was like. I must say I was pleasantly surprised. The upgrade was a relatively quick process and there were no issues during upgrade. Once I had completed the upgrade process, I decided I wanted to do a full clean installation; meaning I wanted to wipe the hard drive and reinstall Windows 10 as a fresh installation with no data. Unfortunately, due to the way that Microsoft has rolled out the free upgrade process, you MUST first upgrade your computer and then you can go through steps to do a fresh clean installation.
Now back to my laptop; I had been seeing the little notification to upgrade for quite some time and decided I was just going to do it. I’ll now show you through the process so that you can see what you may be in for when you decide to upgrade your computer. I have tried to include as many screen shots of the various screens as possible but obviously limited when the computer is in an installation process.
- Firstly you need to make sure you have run a backup of your computer. See my post on Backing up your files – a vital step to securing your data
- Ensure all programs or applications are closed prior to launching the upgrade process
- In the Notifications area of your Task bar you will see the Get Windows 10 If you hover the mouse over the logo it will say Get Windows 10. Click on the icon to launch

- The Get Windows 10 dialog box will appear, which can also sporadically appear on your computer as a little reminder:
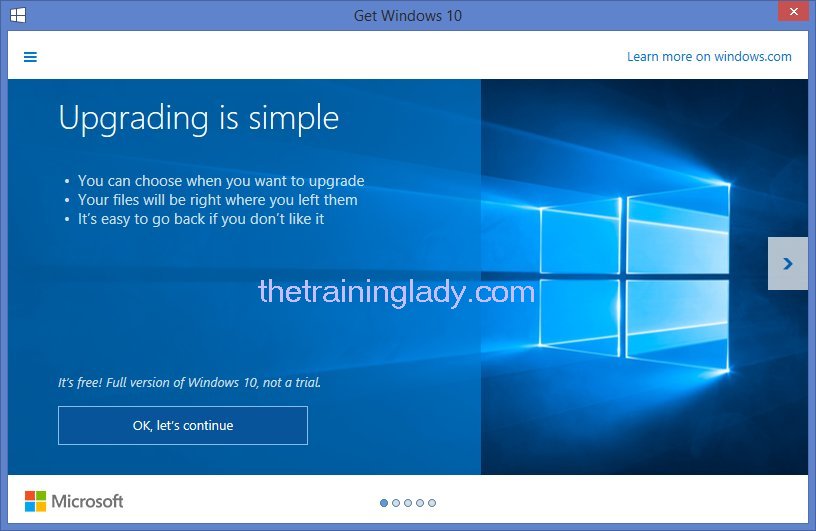
- Click OK, let’s continue
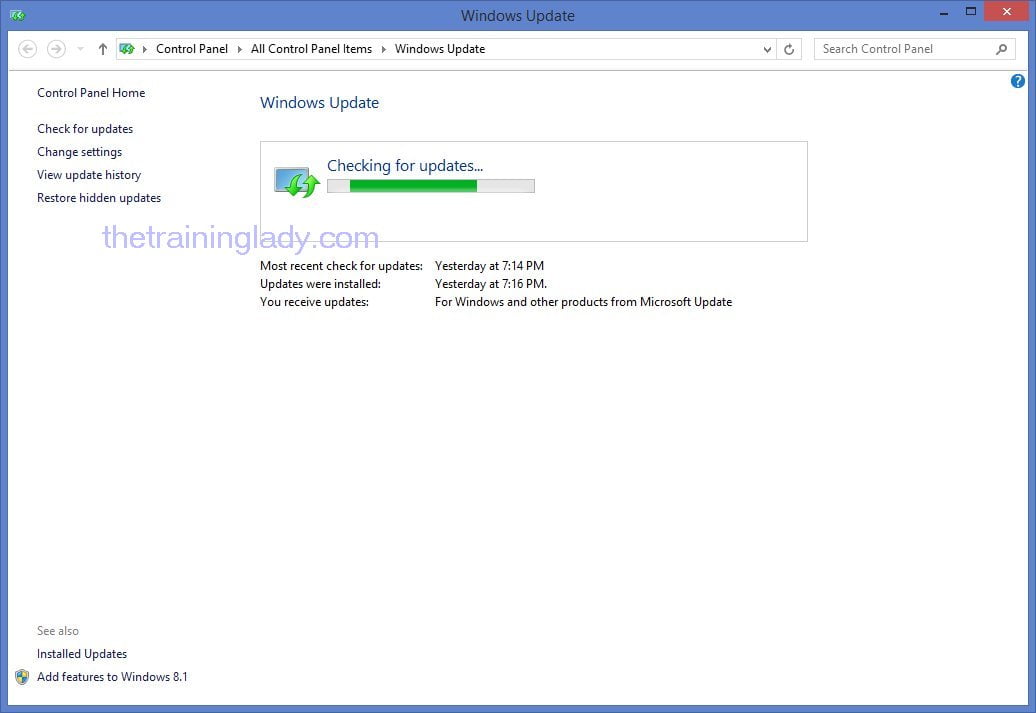
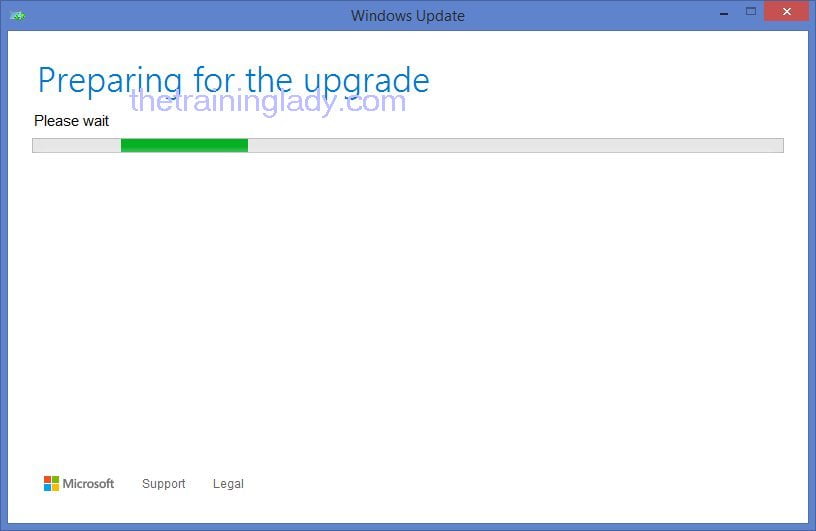
- You will now see the Windows Update screen appear and it will install any updates that are required prior to upgrading the operating system
- Once all updates are installed, it will begin Downloading Windows 10
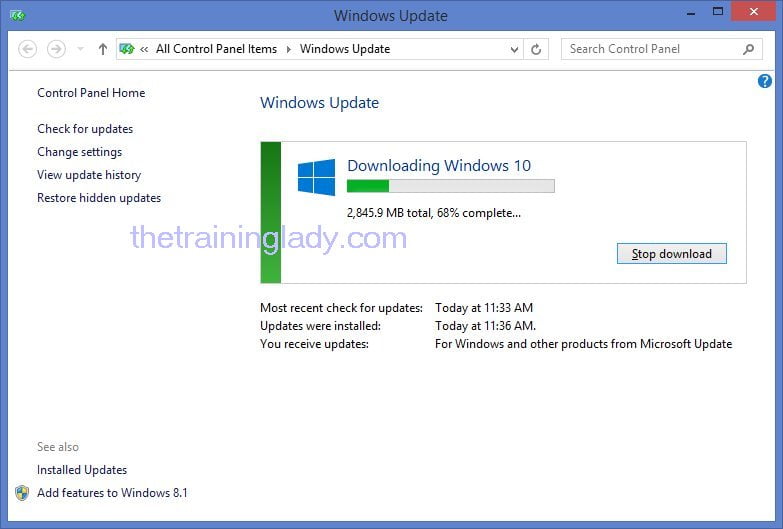
- Allow the computer to download without interruption
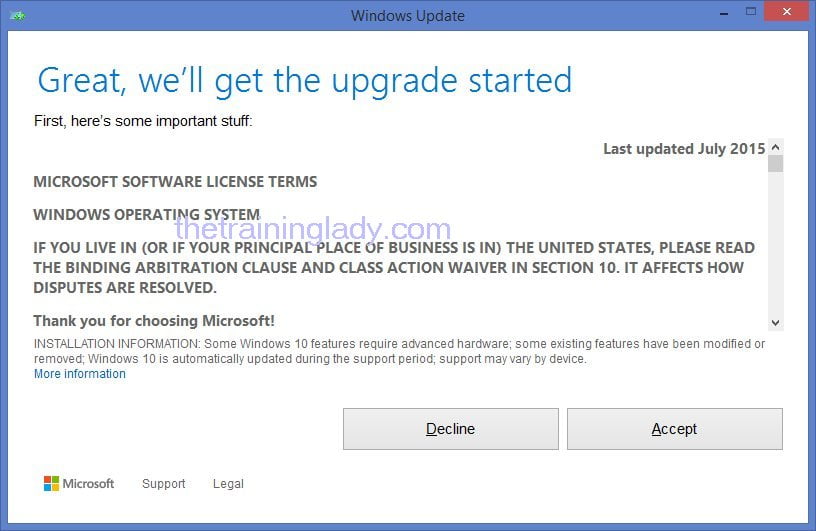
- Once the download has completed, the installation process will begin

- Once this step has completed you will see a message asking you to accept the new Microsoft Software License Terms, click Accept to proceed:
- The upgrade will now continue
- Some screens will require your input whilst other screens will not. Go and make yourself a cup of coffee in between!
- You will next see a screen advising that the upgrade is now ready to install
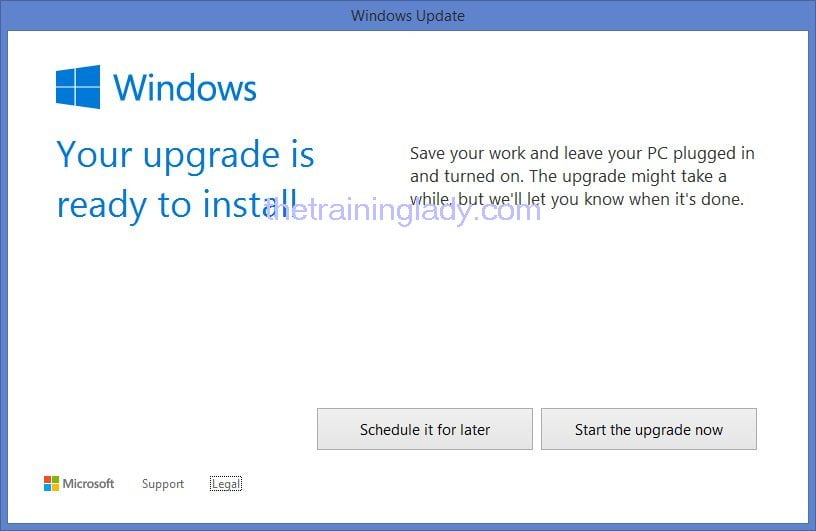
- Click Start the upgrade now
- Next you will see a screen which says Restarting
- Your computer will now restart and continue the process
- You will now see the Configuring update for Windows 10 screen
- Next you will see a black or blue screen which reads “Upgrading Windows” and will include a percentage completed display
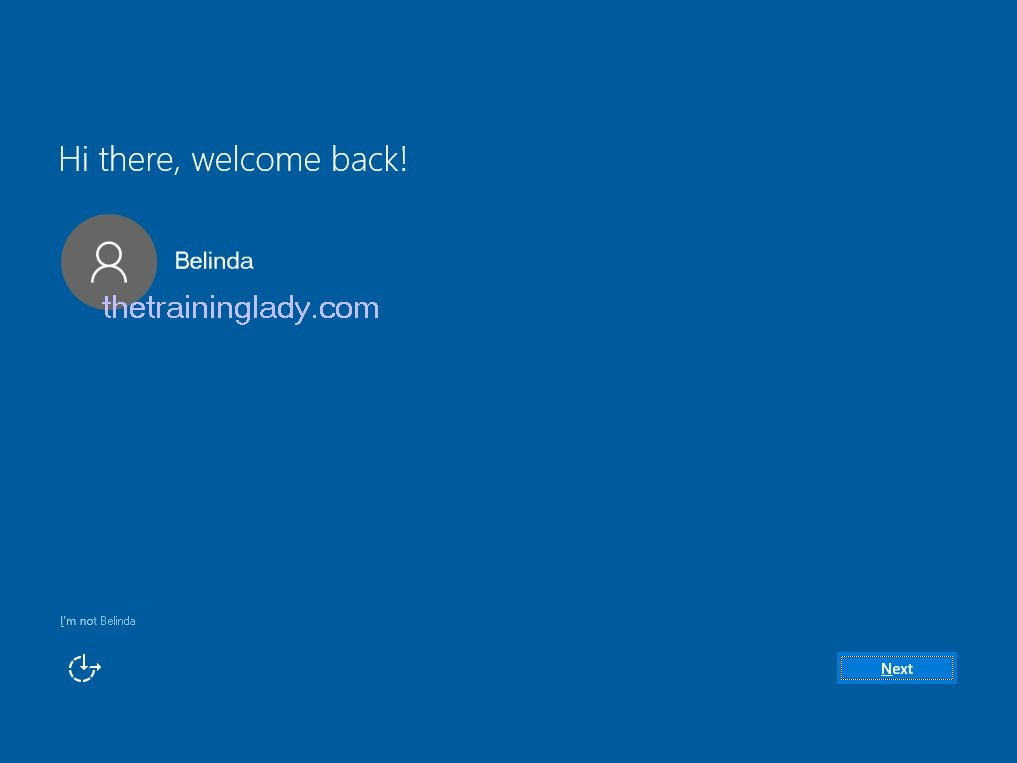
- After the upgrade has completed you will see a screen which says Hi there, welcome back along with an icon for your user profile on the computer, click Next
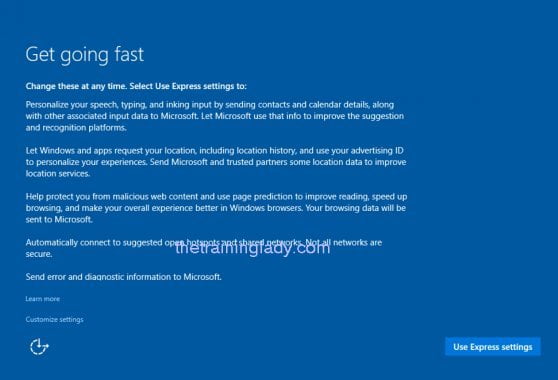
- The next screen explains to you how you can personalise the computer. If you wish to do this now you can click Customise settings link which is found at the bottom of this screen, if you want to do this later just click Use Express settings
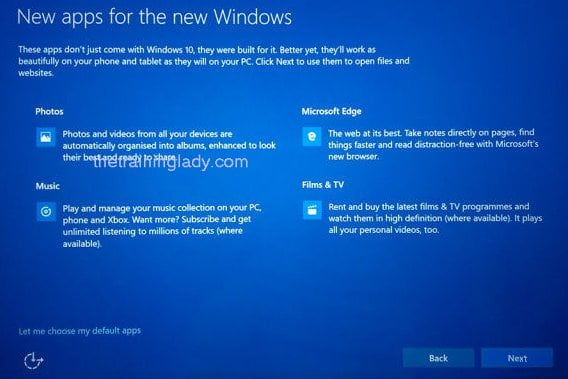
- The next screen shows some new apps available in Windows 10, click Next
- You should now see the login screen
- Enter your password if you normally login with one
- You will now see a few screens which are setting up apps and some other things for you. Allow your computer to complete these tasks
- You should now see the desktop and you have upgraded to Windows 10
For those who are nervous about the upgrade process and whether you will like the new Windows 10, have a little piece of mind that you have 30 days to revert back to your previous version of Windows.
In relation to the overall process, I found the upgrade for my laptop was longer than it took when I upgraded my husbands Windows 7 laptop. I would at least recommend allowing 1-2 hours to upgrade your computer. Microsoft is saying between 20-60 minutes however I haven’t found either of my computers upgraded in that short time frame and both my laptops have very decent hardware and dedicated ADSL 2+ internet connections. Based on that I wouldn’t recommend you perform the upgrade if you have a time specific appointment that day which would require the use of your computer.
Another important note is that the free upgrade offer being made by Microsoft is only valid till 29th July 2016 so you must upgrade before this time to take advantage of this offer.
Over the coming weeks, I will be posting about Windows 10 and the things I’ve done to customise it to suit my needs.