

If you haven’t seen the new morph function in PowerPoint yet then you are in for some fun. I wrote about Morph in PowerPoint on my business website in mid 2021 because it’s such a fun new feature to show during PowerPoint training.
In this post I want to show you how to use the morph and zoom effect within your presentation.
The idea behind this effect is to have your presentation zoom into a specific area on your screen, and you can then have it zoom elsewhere and then zoom back out. I created a little demo of this on YouTube so that you can see it in action.
How to use the Morph feature in PowerPoint
My biggest tip here is to ensure you use high resolution images which have larger image dimensions. As a good guide any image 1920px wide and above will work well. For this zoom in effect to work we are going to resize the images and so high resolution is important if you don’t want the images to become blurry or pixalated.
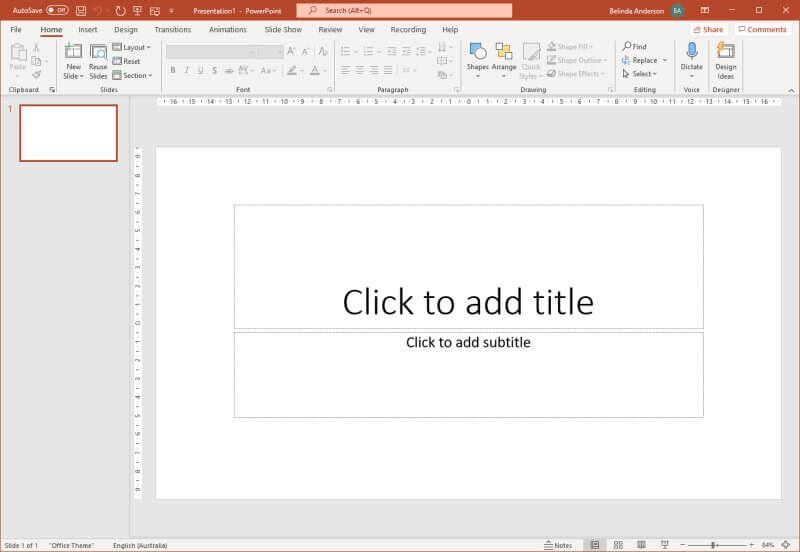
Let’s start off by creating a blank presentation to start off with.
- Open Microsoft PowerPoint.
- Create a new blank presentation.
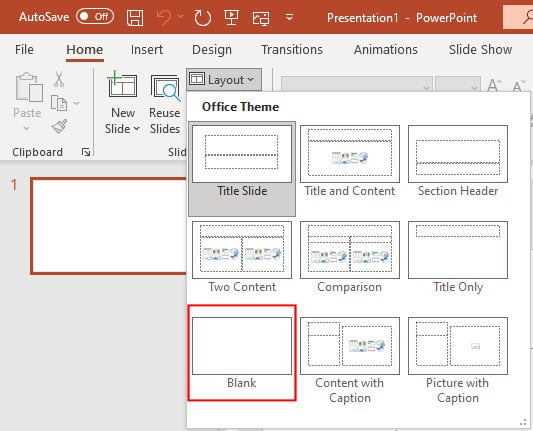
- Let’s change the slide layout to blank:
- From the Home tab choose Slide Layout and select Blank:
- Now we need to insert the picture we want to use on the slide.
- Select the Insert tab and choose Pictures > This Device.
- Locate a picture on your computer to use in this example, select it and click Open.
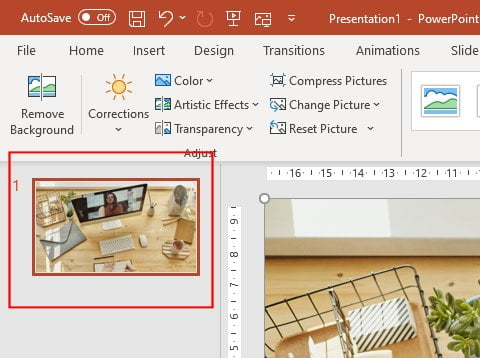
- The picture is now added to the slide:

- I am now going to resize the picture to fit my entire slide area, because the dimensions of the image are different to the size of the slides, some of the picture may not be displayed on the slide.
- Use the thumbnail version of the slide in the side navigation pane to position the image so that the correct parts are being displayed:
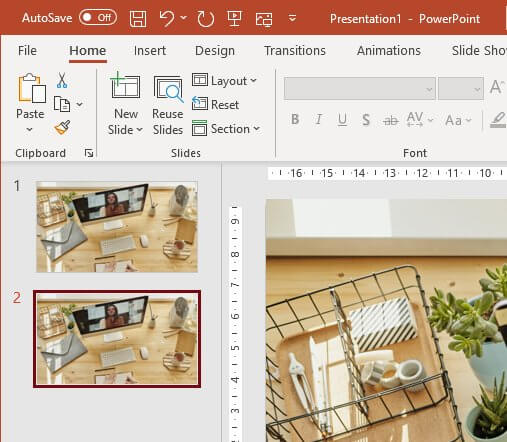
- Once you have the first slide set up then we need to create a duplicate.
- Right mouse click on the slide from the navigation pane and choose Duplicate Slide, or select the slide with the mouse and press Ctrl + D on the keyboard:
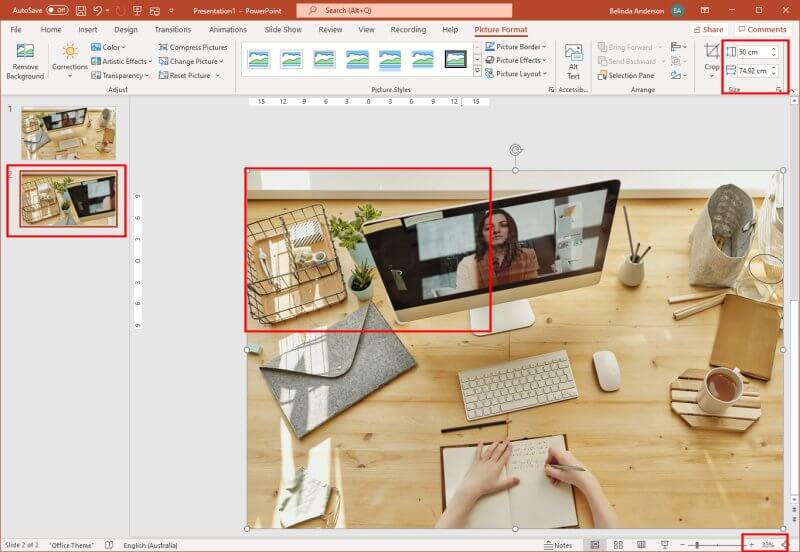
- On the second copy of the slide, you now need to resize the image so that only the part you want to show when zoomed in is shown in the thumbnail in the side navigation pane. In my example below I have zoomed out to 33% and I have made my image 50cm wide. You can see the thumbnail on the left is only showing a portion of the original image and I’ve also outlined where the actual slide is sitting and how much of the image is showing on that slide area.
- Now repeat the process again by duplicating slide 1 again and now resizing the image again so that a different part of your picture is shown.
- Drag and drop the duplicate to the end of the slide deck (slide 3 position).
- Now repeat the process of resizing the image and positioning it on a different part of the image which will be the second point you want PowerPoint to morph to:

- Finally duplicate slide 1, one more time and move it to the last position in the slide show so that the final ending point will zoom back out and show the original full image again.
- You should now have 4 slides in total:

Apply the morph transition
Now that the slides have been created with the different viewpoint for each part of the zoom, we will apply the Morph slide transition to provide the final part of the effect.
- Select slide 2.
- Hold down the Ctrl key on the keyboard and select slide 3 and 4:

- Click the Transitions tab from the ribbon.
- Select the Morph transition:
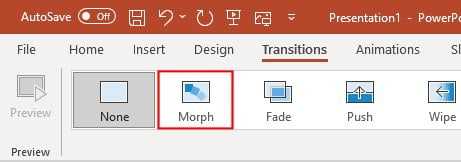
- You should see a star icon appear under Slide 2, 3 and 4 numbering in the navigation pane. You do not need to apply the Morph transition to slide 1.
Run the slide show
We are going to make one final change to the slide show so that we do not have to progress the slide show through each slide. By default, you would have to click the mouse, or press a key on the keyboard for the slide show to progress from slide 1 to slide 2 etc. We want to automate that.
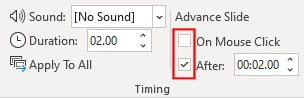
- Ensure you are still on the Transitions tab.
- Untick the option for On Mouse Click.
- Now tick the box for After and set the timing to however long you’d like each slide to show for. E.g. 2 seconds:
- Repeat those steps for Slide 2, 3 and 4. (If you press the Apply to All button, the timing options will be applied to all however the morph transition will be removed from Slide 2, 3 and 4 so you would need to reapply the transition).
- Press F5 on the keyboard to start the slide show.
- The presentation should now begin and after your preset timing the slide to morph and zoom to the first location of the image and then continue along.
I hope this has given you a fun introduction to the Morph and Zoom function. Watch out for more posts about Morph in PowerPoint or find out more interesting content for PowerPoint. Feel free to leave any comments or questions below.


