

Ever wondered how to use a placeholder in PowerPoint? The term “placeholder” is used to identify the containers on a slide which are shown with a dotted external border. Placeholders are specifically used to position different types of content on the slide and are preformatted for you to provide consistent formatting between each slide.
Placeholders which contain text will generally display the “Click to add …” prompt to help you add text content to a slide. Placeholders can be formatted differently on each slide however for a more consistent approach, placeholder formatting can be changed using the Slide Master.
Placeholders can contain text, pictures, tables, charts, SmartArt graphics, and media clips. I often hear users refer to them as “text boxes” and though they look similar to a text-box they are much more than containers for just text. Placeholders will help to ensure the design across an entire presentation is consistent and to make sure positioning and formatting can be kept the same. There is nothing worse than sitting through a presentation where formatting is inconsistent between each slide.
Below you can see an example of the slide layout called Title and Two Content. This particular slide layout includes 5 x placeholders. A single Title placeholder is displayed at the top of the slide along with 2 x subheading placeholders and then 2 x content placeholders. Each content placeholder provides a prompt for me to quickly add content such as a table, chart, SmartArt, picture or video.

A placeholder in PowerPoint can work hand in hand with the slide layout being used on individual slides. If you are not familiar with the use of different slide layouts, I recommend you take a look at my post titled Choosing a slide layout in PowerPoint – why it’s important.
Use a Placeholder in PowerPoint
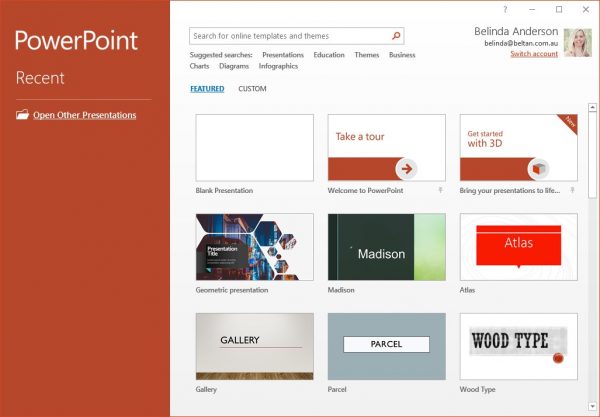
Firstly we will open PowerPoint and create a new blank presentation so that we have a starting point to begin.
- Open Microsoft PowerPoint
- If the Start Screen appears, simply select Blank Presentation otherwise go to the next step:
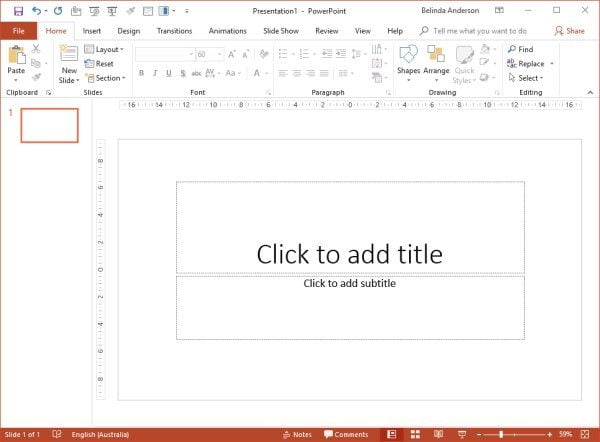
- You will have a new blank presentation displayed and you will see 2 x placeholders with prompts to enter text. The first placeholder is the Title placeholder and the second allows for a subheading to be added.
Customise a placeholder
Quite often I see users insert new content onto a slide using the commands found on the Ribbon, such as Insert > Picture, even though there are placeholders already on the slide. It’s important to remember that a placeholder can be edited, formatted, resized and moved on the slide if needed. It is best to use the placeholders you have on the slide first before you look to add additional placeholders or elements.
When editing a placeholder there is a number of ways you can interact with the object to edit or move it.
To add or edit the text within a placeholder:
- Click once with the left mouse button anywhere inside the placeholder area e.g. click inside the first placeholder which says Click to add title
- Your cursor will now blink ready for you to enter text
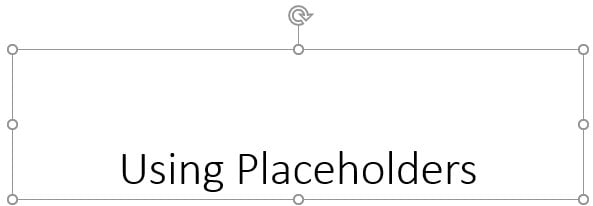
- Give your presentation a title E.g. Using Placeholders
- The cursor will continue to blink inside the placeholder until you click outside the placeholder to deselect it.
- Now click inside the second placeholder and enter a subtitle E.g. your name or a tag line
- Once you have finished typing you will see the cursor is still blinking, click outside the placeholder to finish editing the text, if you accidentally press Enter (I do this sometimes out of habit), you will just get a new paragraph within the placeholder, use the Backspace key to remove the new paragraph and then click outside the placeholder to deselect it
To format text within a placeholder:
- Click once inside the placeholder area so that the blinking cursor is displayed
- Now use the mouse cursor to highlight the text you wish to format
- Use the Formatting tools on the Home tab of the Ribbon to apply any formatting styles
OR
- To format the entire content of the placeholder at once, place your cursor on the border of the placeholder till you see a four-headed cursor appear

- Click once with the left mouse button to select the entire placeholder
- The outside border will now be a solid black line whereas it was a dotted line previously
- Now use the Formatting tools available on the Home tab of the Ribbon to apply a Font style, size or other formatting characteristics you may wish
Resize a placeholder
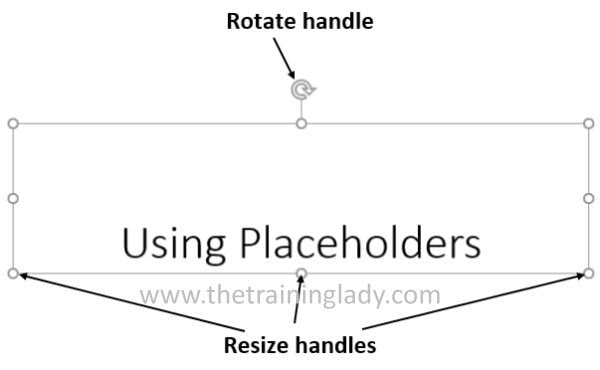
When you select a placeholder you will see that it has 8 resize handles around the border plus a rotate handle. These handles allow you to resize and rotate the placeholder as needed. If you want to maintain consistent formatting of placeholders across
To resize a placeholder:
- Place your cursor over the resize handle you wish to use
- The cursor will become a two-headed arrow

- Click and hold the left mouse button and move towards the centre of the placeholder or out towards the edge of the slide to adjust the size
To rotate a placeholder:
- Place your cursor over the rotate handle at the top of the placeholder
- The cursor will become an anti-clockwise circular arrow

- Click and hold the left mouse button and move the cursor to the left or right, depending on which direction you wish to rotate to
I hope this gives you a good introduction to understanding of how to use a placeholder in PowerPoint. Once you have mastered using placeholders you can then expand your skills through the use of Slide Masters and begin to create your own custom templates in PowerPoint.
Be sure to check out my other Microsoft PowerPoint articles for some more great tips.


