For years I have been creating screenshots for various reasons;
- for use in training courseware;
- to illustrate to a remote user a button I want them to press;
- to relay information about a technical problem or error,
- and the list goes on.
Anytime I want someone to see something on my screen or I need to see what is on someone’s screen, I use a screenshot.
Now for a touch of history, the screenshot function is also referred to as a print screen. It originated back when computers ran MS-DOS and processes on the computer required commands to be typed manually. Originally when a user pressed the PrtScn button or equivalent on the keyboard, the content of the screen would automatically be printed to the local printer, hence the name Print Screen. Now with our graphical based operating systems, e.g. Microsoft Windows, we now see a snapshot or “screenshot” of the current screen taken and saved to the computer’s Clipboard where you can then use the image in any program. If you are not familiar with the Clipboard and how it works, take a look at my post on the Office Clipboard.
With Microsoft Office, this feature is incorporated directly into the applications making this task much quicker and very straightforward.
Because the screenshot function has been around for so long it’s important to know there are now two methods to create a screenshot. There is the old way, which still works perfectly and in all honesty, I still use it myself, and then there is the method of creating a screenshot directly through Microsoft Office (version 2010 onwards).
Let’s take a look at how to create a screenshot using both methods.
Create a Screenshot using Windows
If you need to take a screenshot of any active window you can use the good ole’ PrtScn button on your keyboard.
The PrtScn button can also provide you with two different types of screenshots as outlined below:
PrtScn button
Pressing the PrtScn button individually will provide you with a full-screen shot, meaning if you have multiple windows visible at once, the screenshot will be identical to what you see on screen. A full print screen also includes the start button, taskbar and system clock areas.
Alt + PrtScn button
Pressing the Alt + PrtScn button together means you will only get a screenshot of the active window. I generally use this method more often so that I’m only getting an image of the application window I need and it leaves out the additional content such as the taskbar, clock, start menu etc.
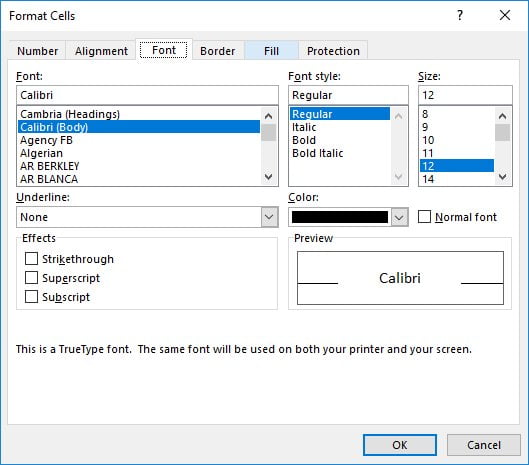
This method also allows you to resize the window you wish to take a screenshot of, which is quite handy. In my example below I have used Alt + Prtscn to take a screenshot of only the Format Cells dialog box in Excel.
To create a screenshot using Windows, follow these steps:
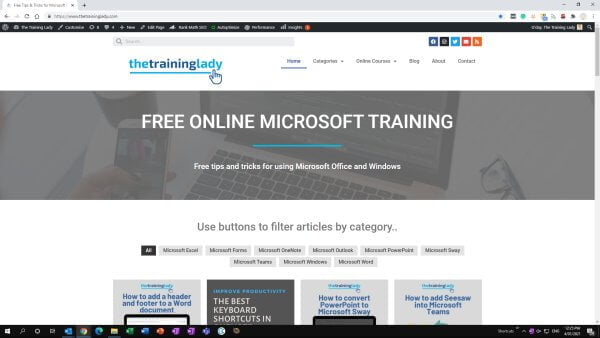
- Open your web browser and navigate to a website you want to take a screenshot of, you can even just use this window if you prefer
- Make sure the web browser is the current window active (click the mouse anywhere within the window) and is maximised to fill the entire screen
- To create a screenshot, press the PrtScn button on your keyboard. Because we are using the PrtScn button individually it will take a full screenshot of the entire computer screen including the taskbar and start button
Note: Your keyboard may use a slight variation of this button name, including Print Scn, Prt Scn etc
- Do not be concerned if it looks like nothing happens, the screenshot will now have been saved to the clipboard of your computer
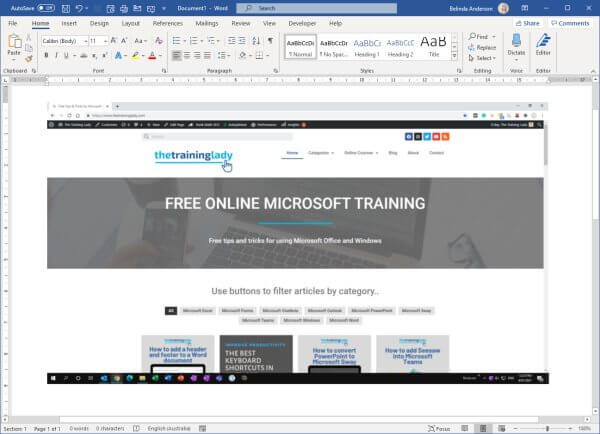
- Now let’s open a program we can paste the screenshot into such as Microsoft Word, Paint or even a new email message
- Now click the Paste button or press Ctrl + V on the keyboard
- A screenshot of the web page will now be displayed inside the program window
- Alternatively, you could paste the screenshot into a graphics program such as Adobe Photoshop or even Microsoft Paint to be saved in an image file format such as .JPG or .PNG.
- Repeat the same process, however, use the Alt + PrtScn key combination to see the difference, you will notice it does not include the taskbar or start button.
Create a Screenshot using Microsoft Office
The screenshot process within Microsoft Office is very easy. Ensure you have open the window you wish to create a screenshot of, in this case, keep your web browser window open.
- Open Microsoft Word, Excel or PowerPoint or even open a new blank email message in Outlook
- From within any of the Microsoft Office programs, click the Insert tab and choose the Screenshot button
- You will see a drop-down menu appear showing a thumbnail of each window currently active:
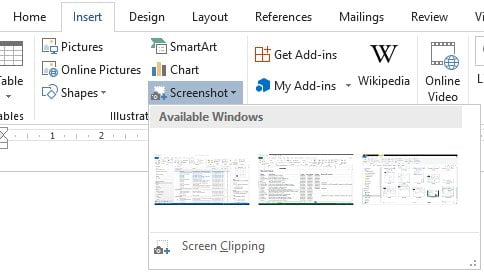
- Select the thumbnail of your web browser and click it once
- A screenshot of your web browser window will automatically be inserted into your document
- You can now save the document you have open
Congratulations, you have now created a screenshot using the methods available in Windows and Office. For more articles and tips which can be applied across the range of Microsoft Office products check out:
- Using AutoCorrect within Microsoft Office
- Create a PDF file using Microsoft Office
- Customise the Quick Access Toolbar
- The Office Clipboard – a hidden treasure
- Format Painter – your new time saver!
- Open any Microsoft Office product
- How to disable the Start Screen at startup in Office programs
- Save time! Pin a file or folder to the Open list in Microsoft Office